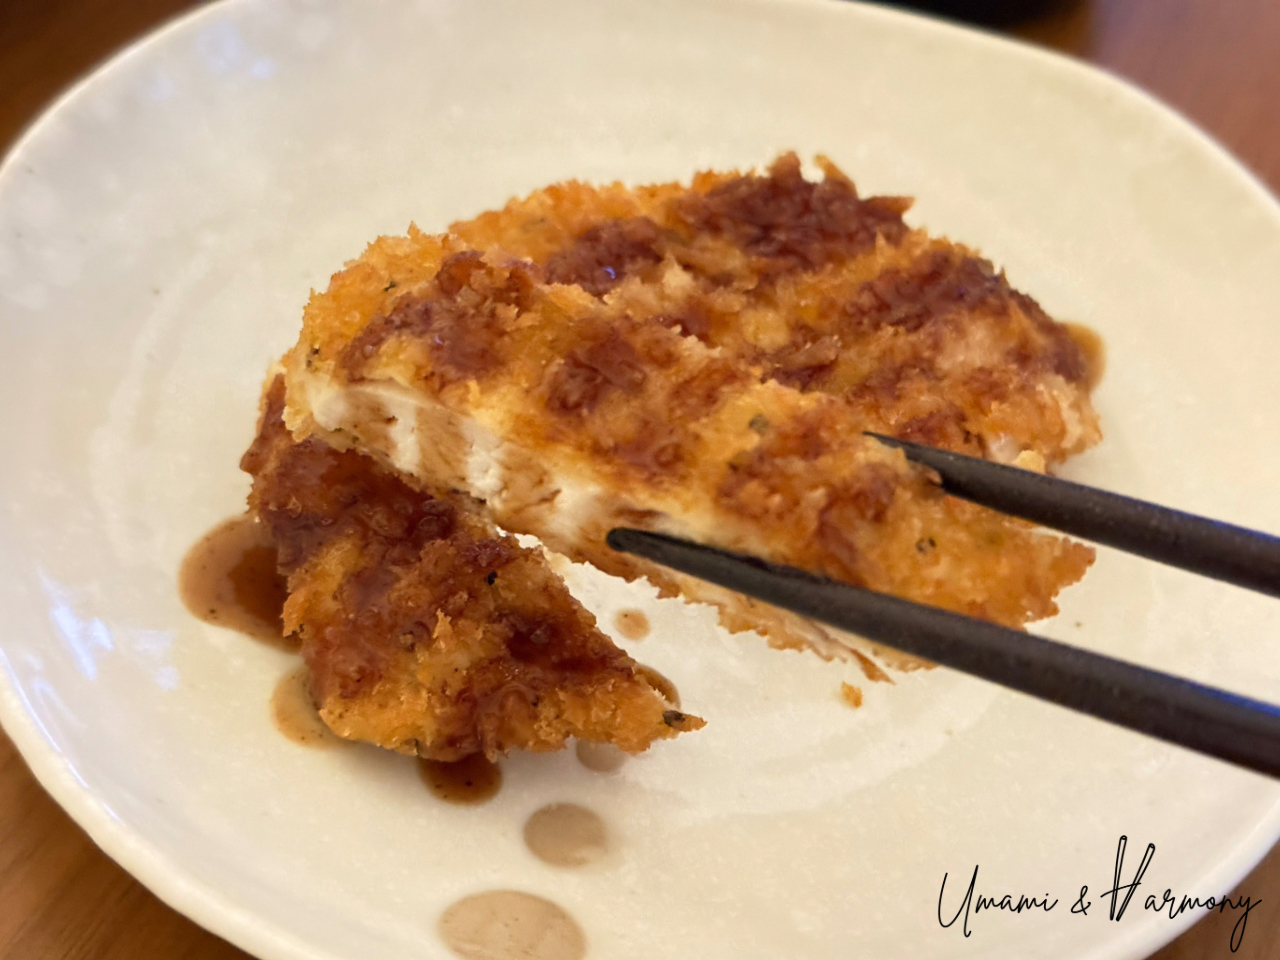
Chicken Katsu is one of those classic comfort dishes that almost everyone in Japan grows up loving. It originally came from the idea of a Western-style cutlet, but over time it transformed into something uniquely Japanese — crispy, juicy, and so satisfying. In my home, it’s a total family favorite. It’s amazing how a few simple ingredients can turn into such a delicious dish that feels special every single time. Let’s make it!

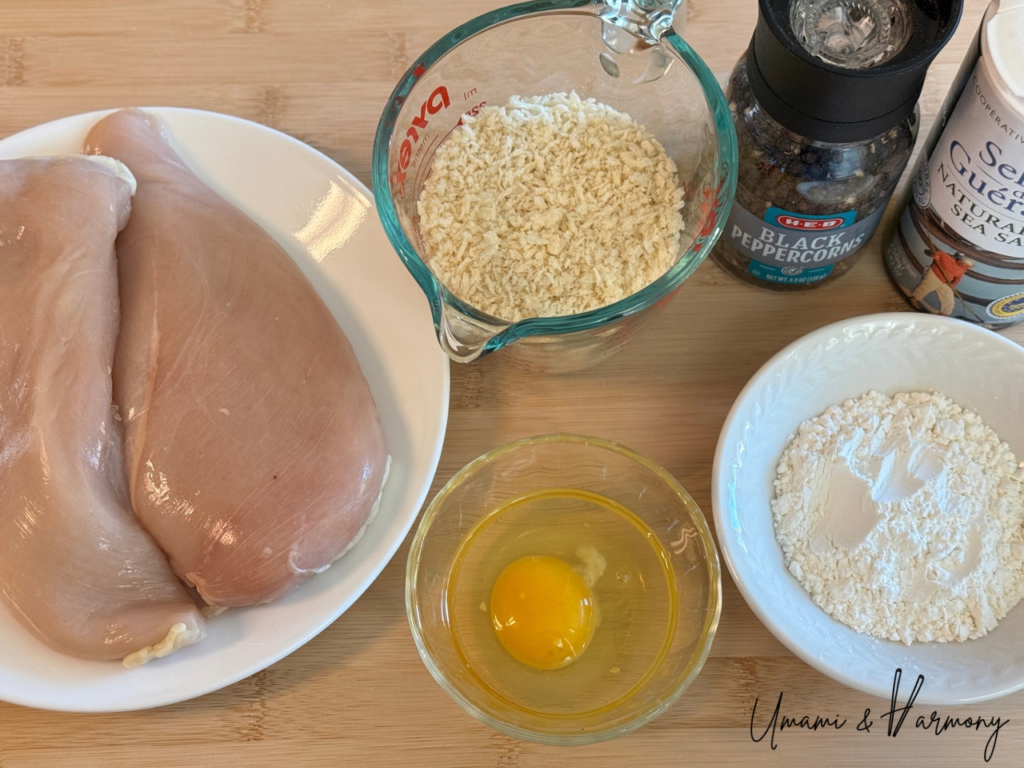
Ingredients
- Chicken breast: 1 lb
- Egg: 1
- Panko: 1 ½–2 cups
- All-purpose flour: 2 Tbsp
- Salt & pepper: to taste
- Oil for frying: about 2 cups
For Garnish
- Finely shredded cabbage (for garnish): as needed
Step-By-Step Instructions
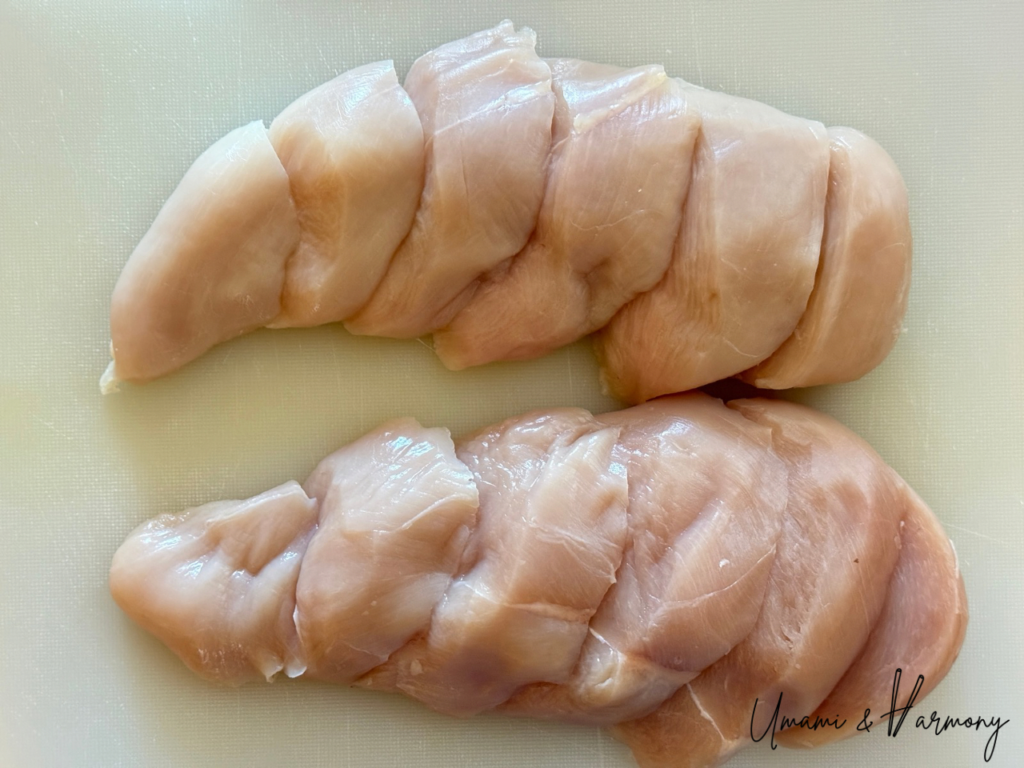
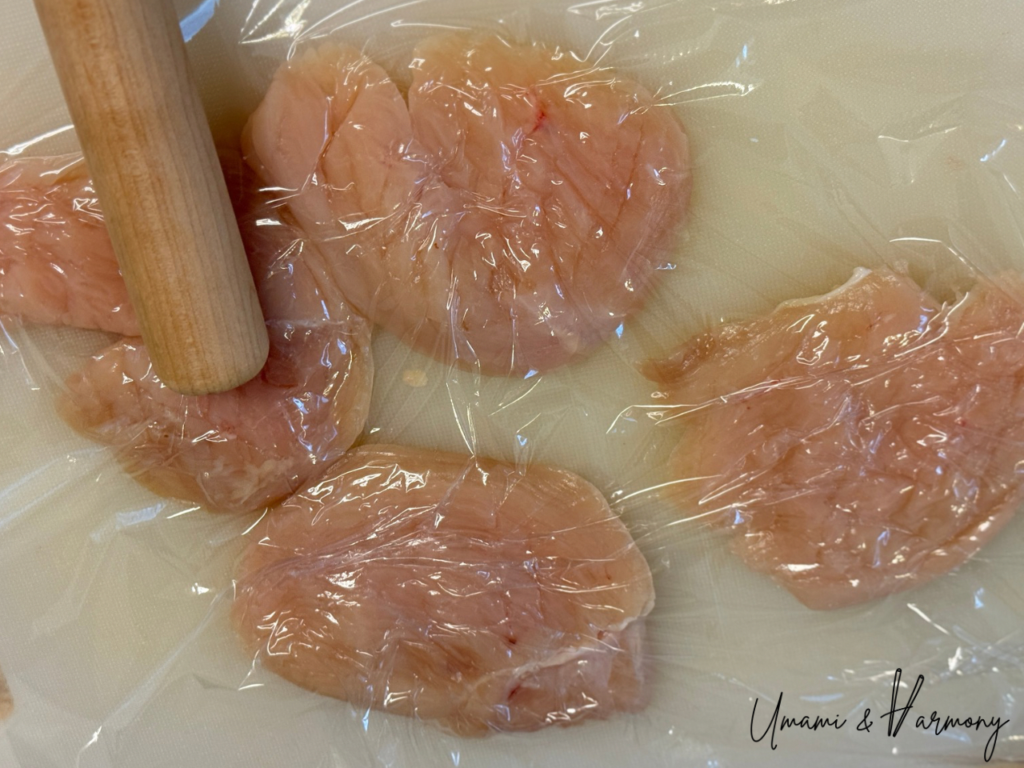
1. Prep the chicken:
Slice the chicken breast into about 1-inch wide pieces. Cover them with plastic wrap and gently pound using a rolling pin (or a meat tenderizer) to even out the thickness to about ½ inch.
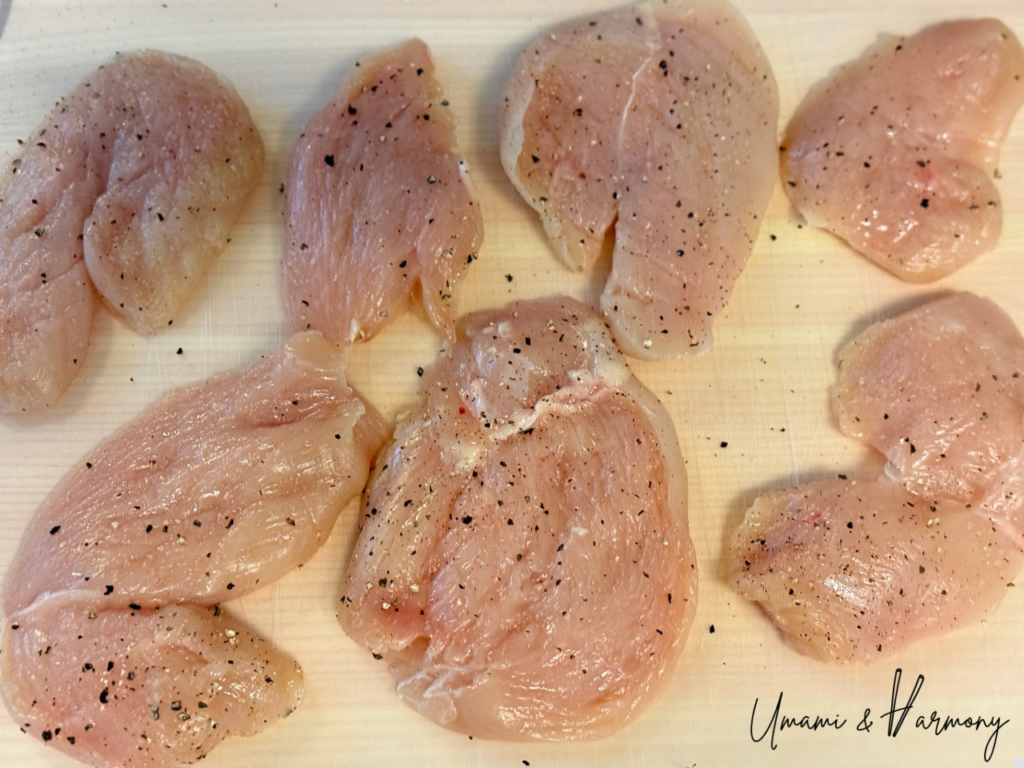
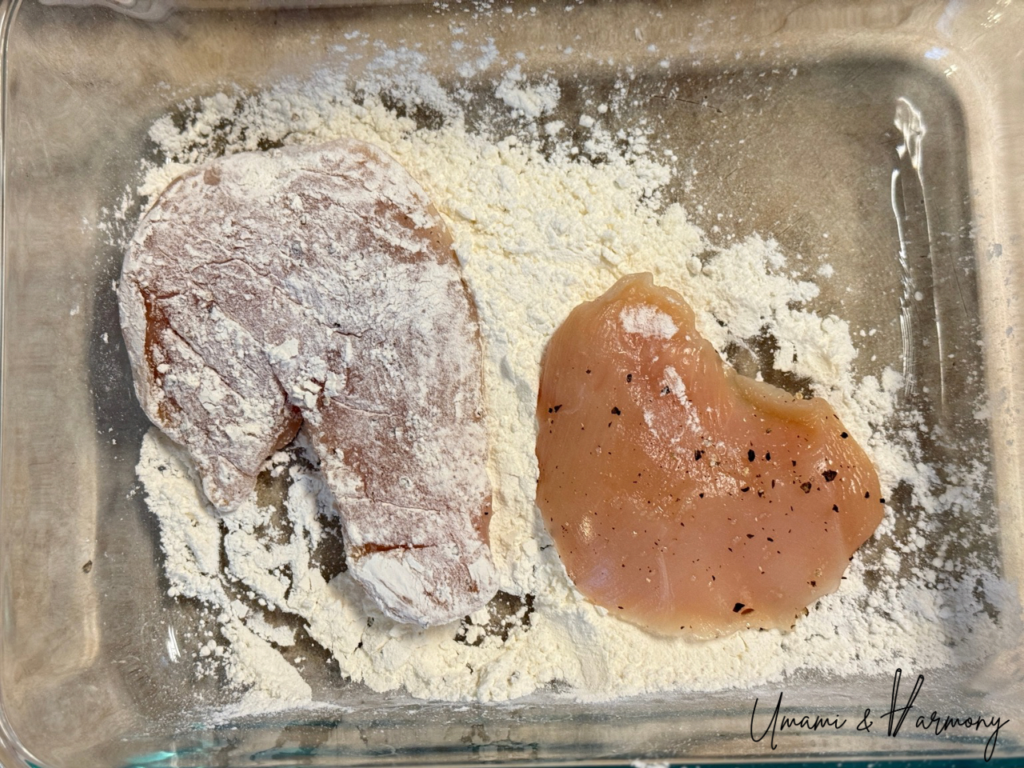
2. Season & flour:
Sprinkle both sides of the chicken with salt and pepper. Lightly dredge each piece in the flour in a small bowl, shaking off any excess.
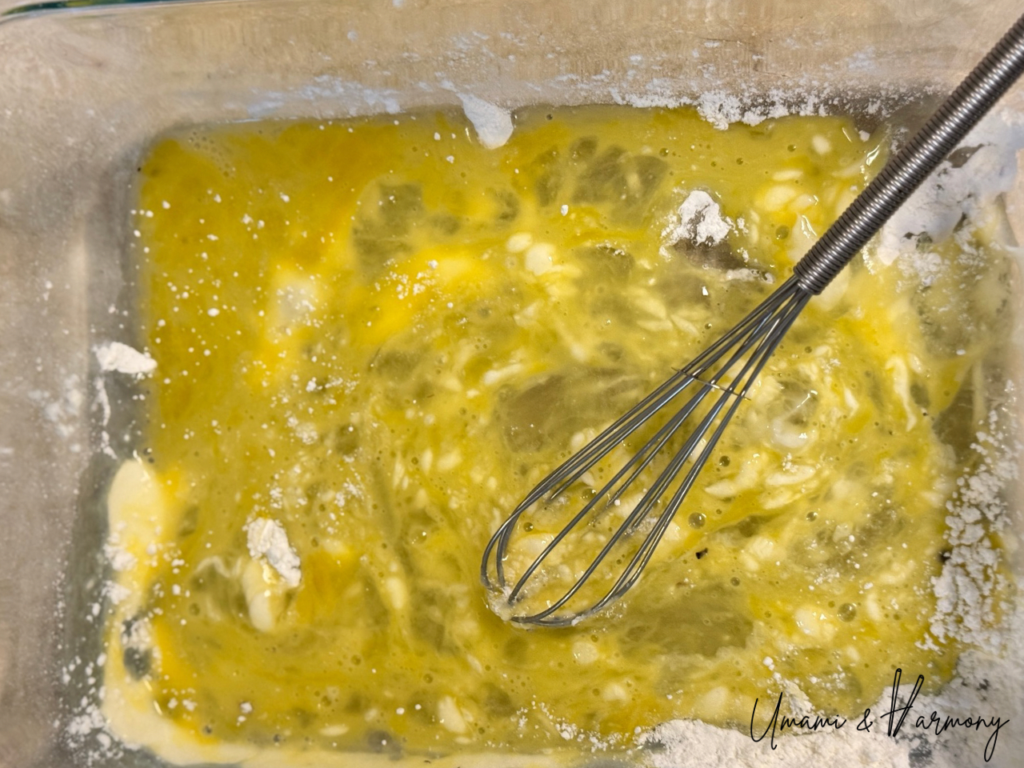
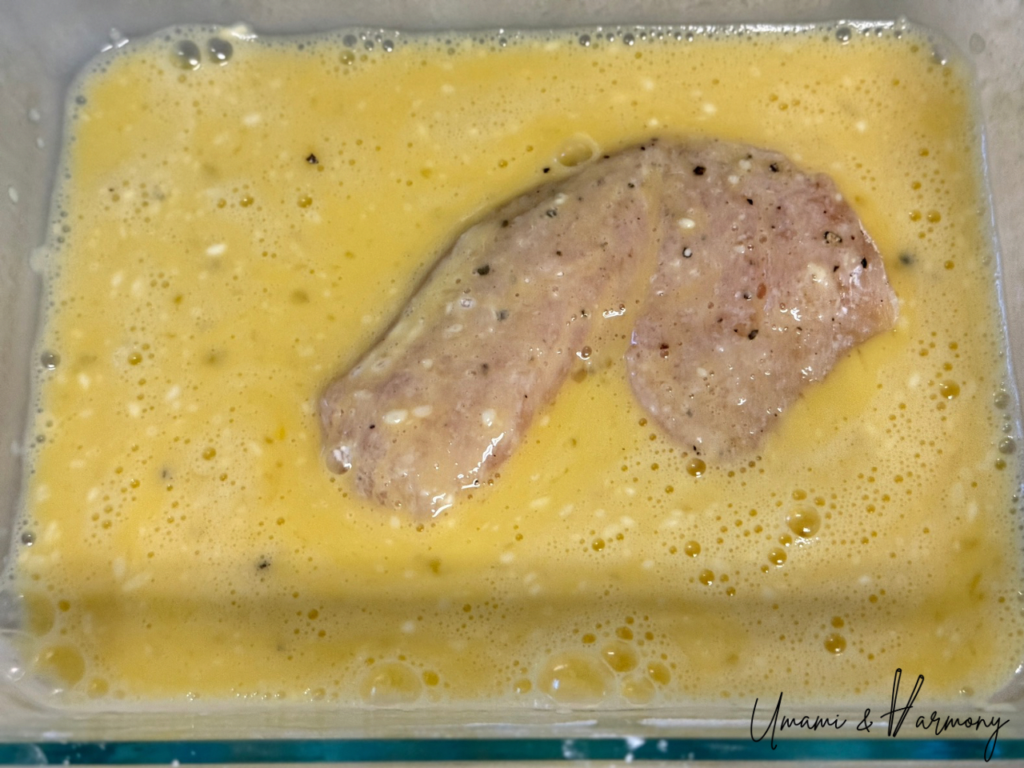
3. Make the egg mixture:
Once all the chicken pieces are coated, crack the egg into the same bowl and whisk it together with the leftover flour. Mix well until smooth.
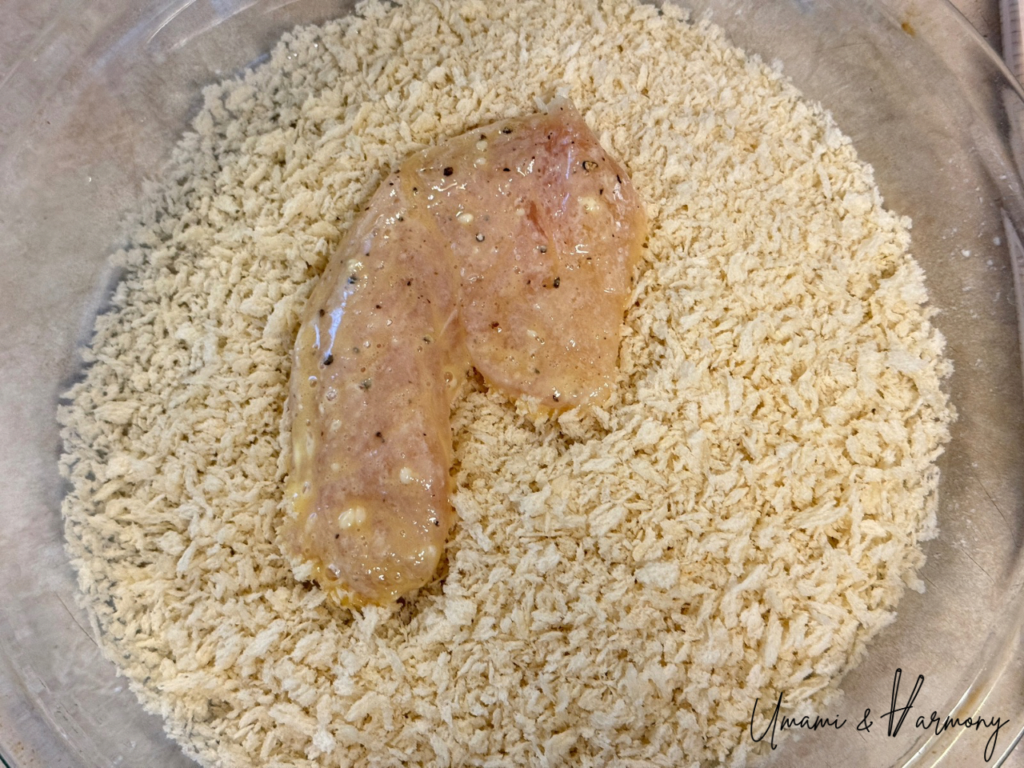
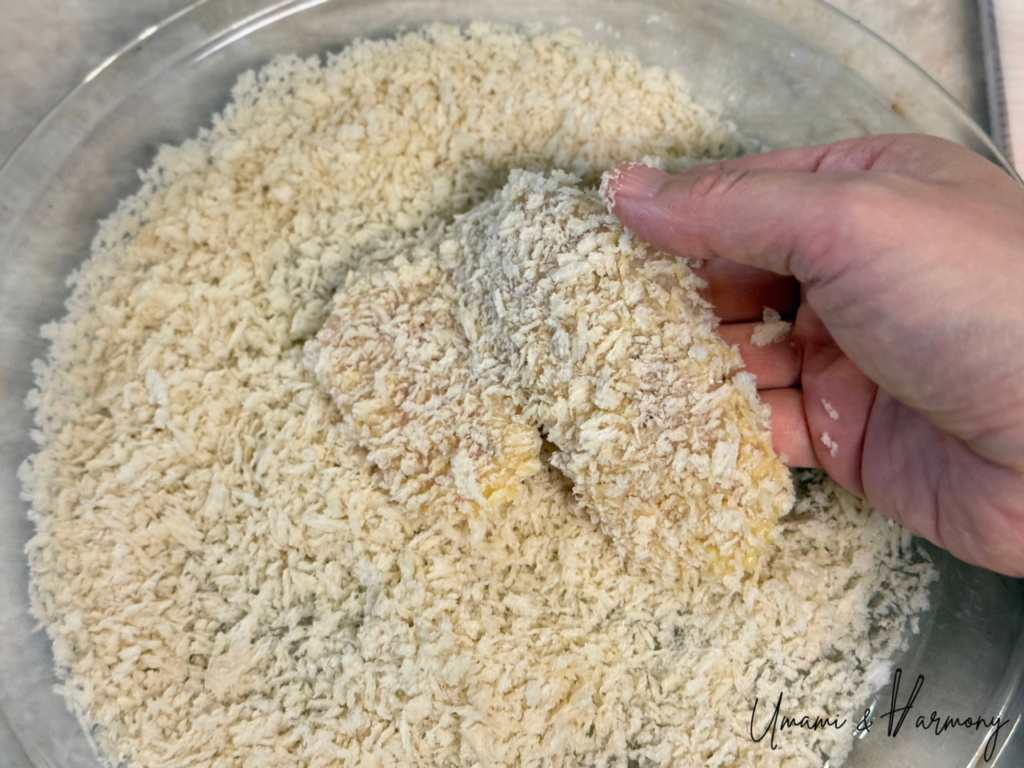
4. Coat with panko:
Add the panko to a separate bowl or shallow dish. Working one piece at a time, dip the chicken into the egg mixture, then press it into the panko until fully coated. Gently press the panko so it sticks nicely.
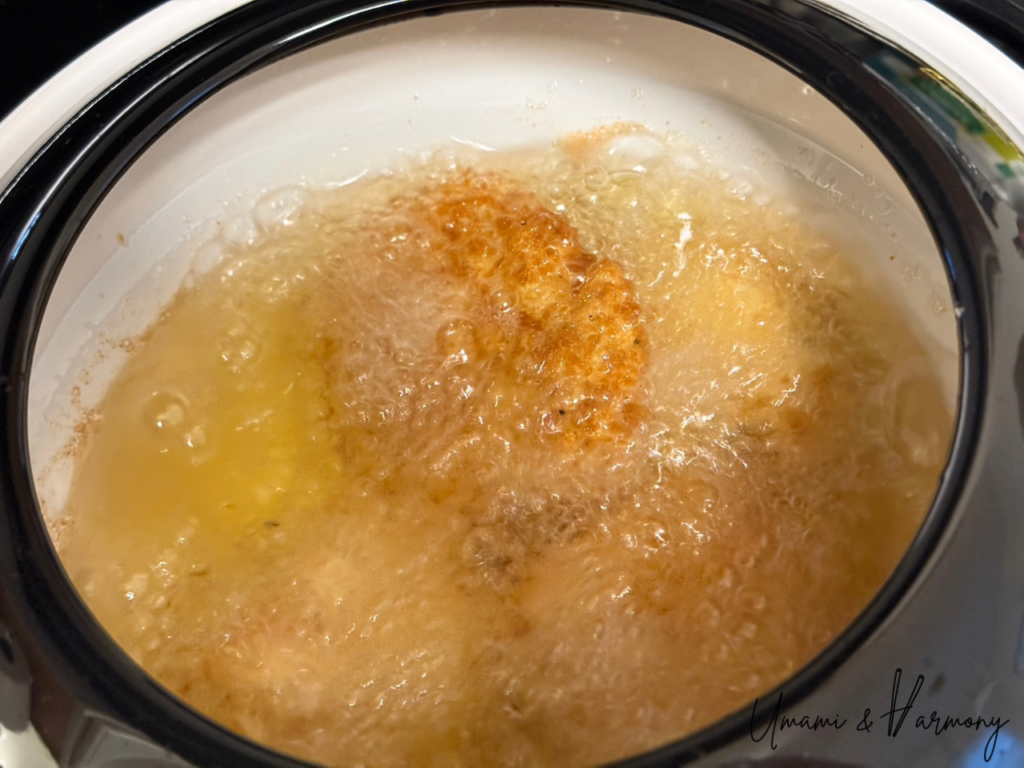
5. Fry:
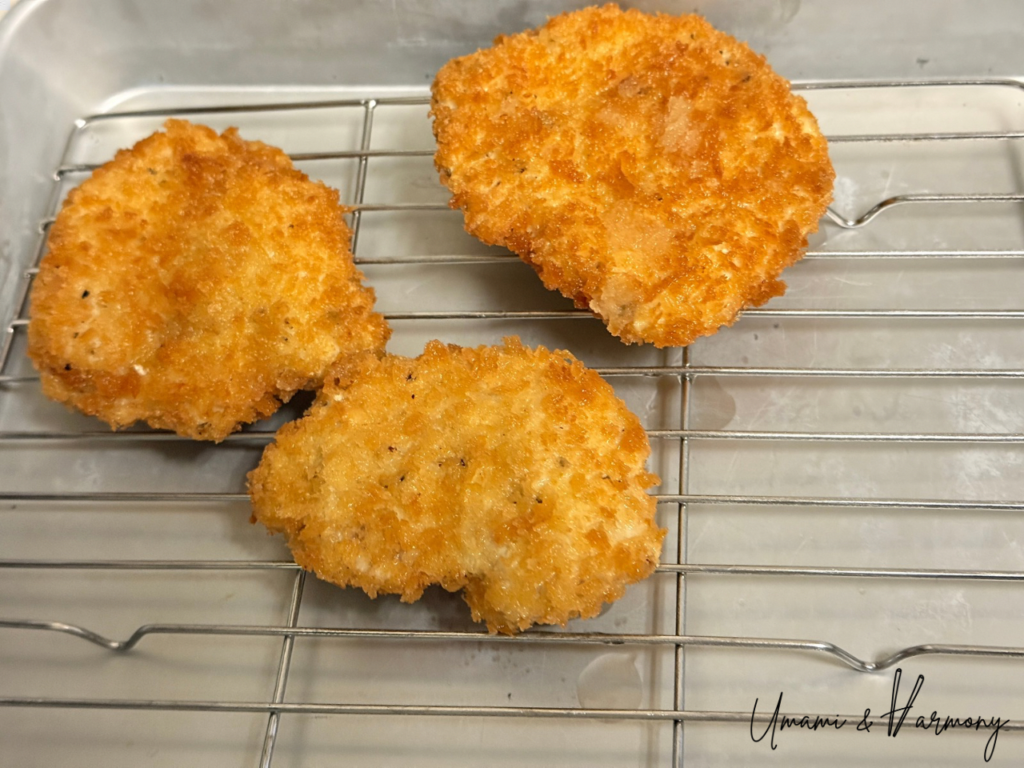
Heat the oil in a medium pot to 320–355°F (160–180°C). Carefully place the chicken pieces into the oil and fry until golden brown, about 3–4 minutes per side, depending on thickness. Remove and drain on a wire rack or paper towel.
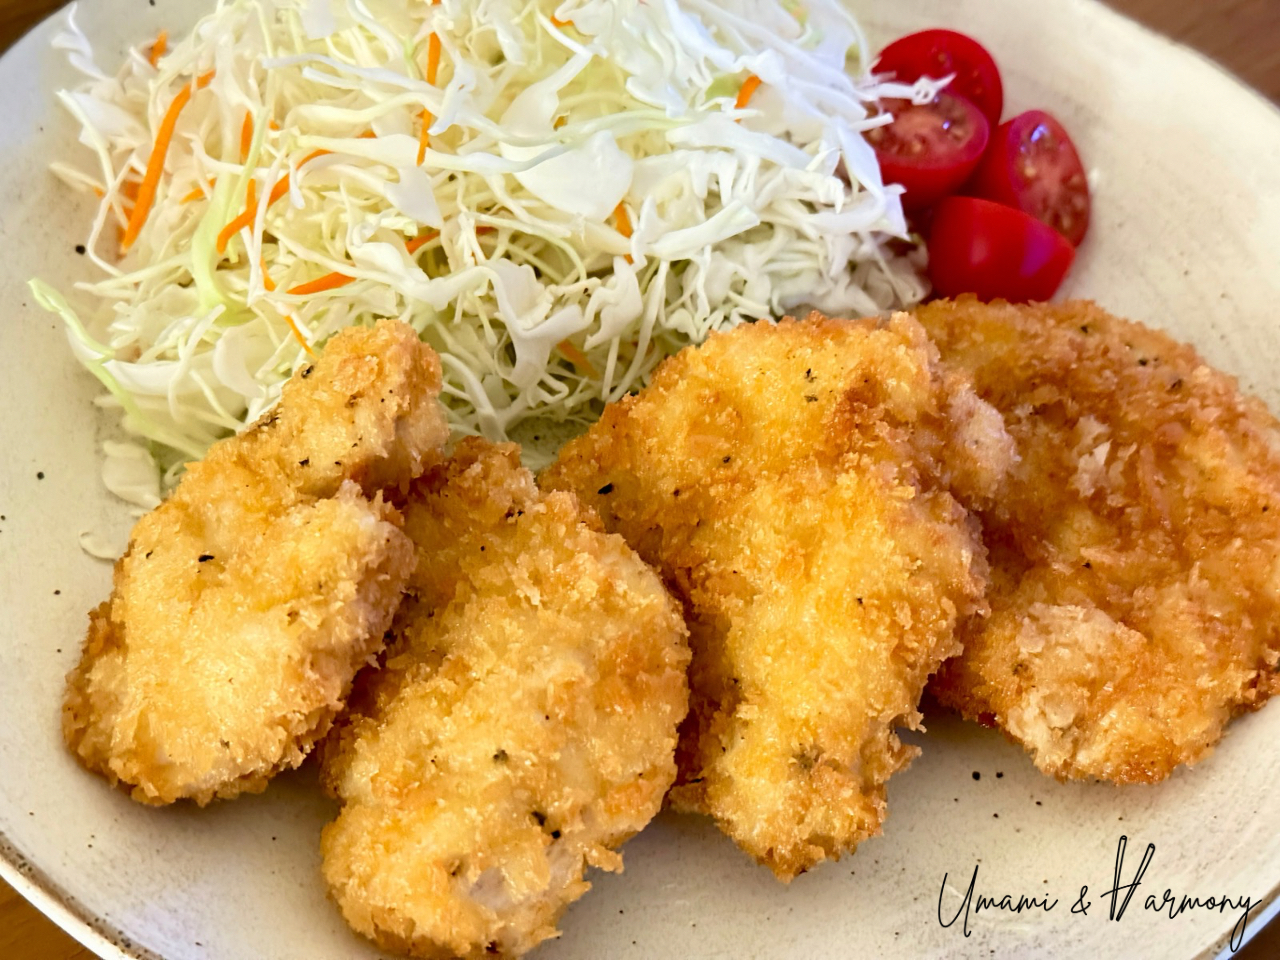
With Tonkatsu sauce!
Recipe Tips
- Check your oil temperature: Too low = soggy katsu. Too high = burnt outside, raw inside. Aim for 320–355°F (160–180°C) throughout frying.
- Avoid crowding the pot: Fry in batches so the oil temperature doesn’t drop.
Chicken Katsu
Ingredients
- 1 lb Chicken breast
- 1 Egg
- 1 ½-2 cups Panko
- 2 tablespoon All-purpose flour
- Salt & pepper to taste
- 2 cups Oil for frying
- Finely shredded cabbage (as needed) / for garnish
Instructions
- Prep the chicken:Slice the chicken breast into about 1-inch wide pieces. Cover them with plastic wrap and gently pound using a rolling pin (or a meat tenderizer) to even out the thickness to about ½ inch.
- Season & flour:Sprinkle both sides of the chicken with salt and pepper. Lightly dredge each piece in the flour in a small bowl, shaking off any excess.
- Make the egg mixture:Once all the chicken pieces are coated, crack the egg into the same bowl and whisk it together with the leftover flour. Mix well until smooth.
- Coat with panko:Add the panko to a separate bowl or shallow dish. Working one piece at a time, dip the chicken into the egg mixture, then press it into the panko until fully coated. Gently press the panko so it sticks nicely.
- Fry:Heat the oil in a medium pot to 320–355°F (160–180°C). Carefully place the chicken pieces into the oil and fry until golden brown, about 3–4 minutes per side, depending on thickness. Remove and drain on a wire rack or paper towel.
Related
Looking for other recipes like this? Try these:
Comments
No Comments