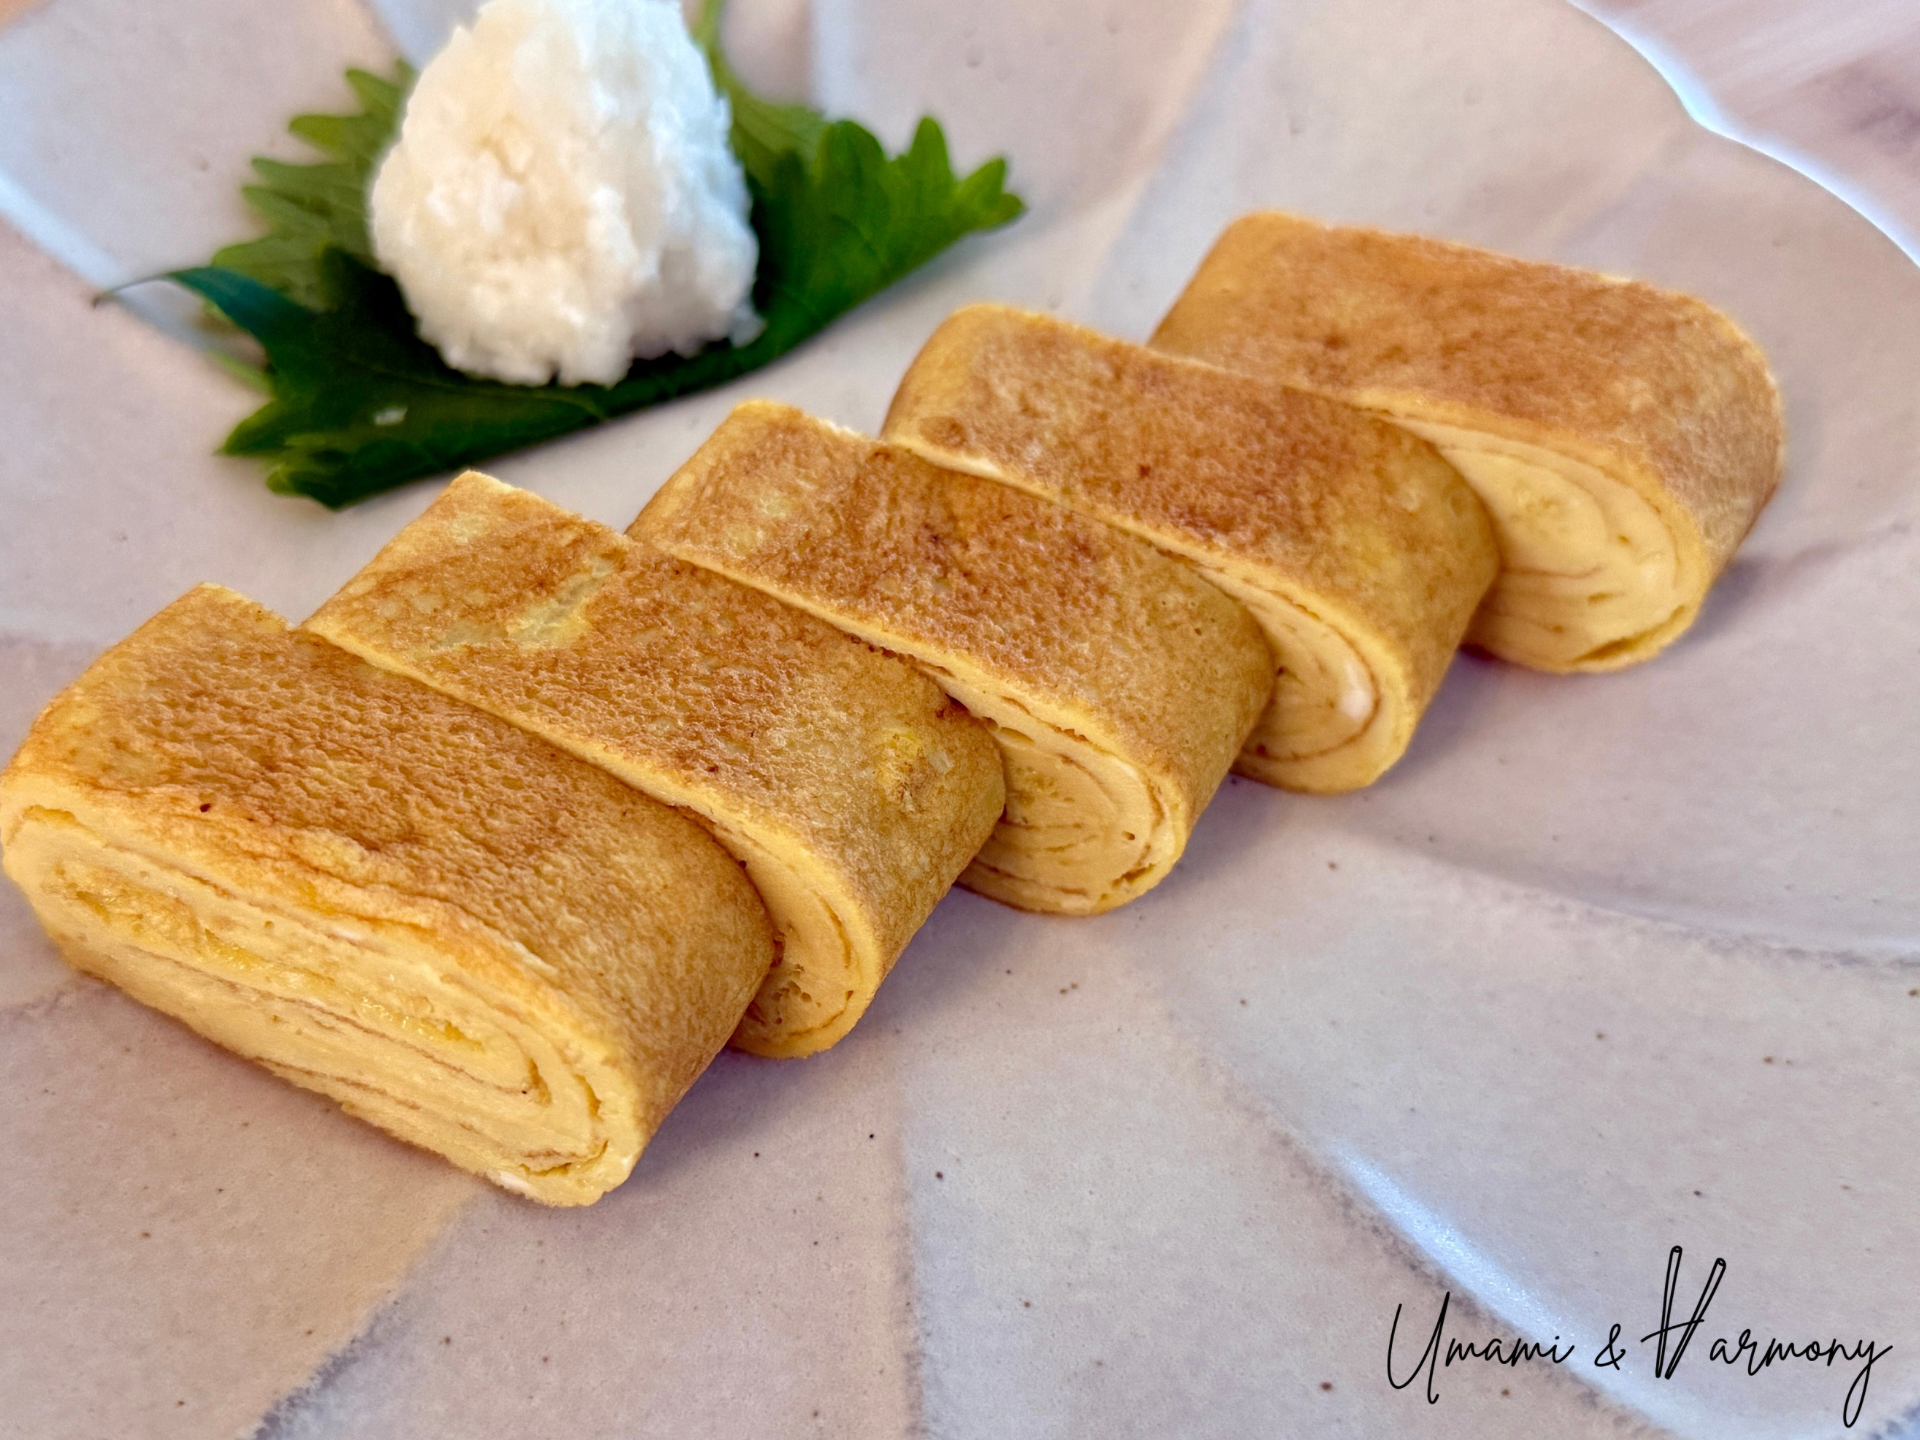
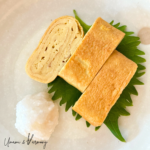
Tamagoyaki (Japanese Rolled Omelet) is a simple yet beloved dish made with eggs, sugar, and soy sauce. Soft, slightly sweet, and full of flavor, this tamagoyaki recipe is a staple in Japanese food culture. You’ll find it at breakfast, as a side dish at dinner, or neatly packed in a bento box. It’s truly a favorite for both kids and adults. If you’ve ever wanted to learn how to make authentic tamagoyaki at home, this easy recipe is the perfect place to start.
Ingredients
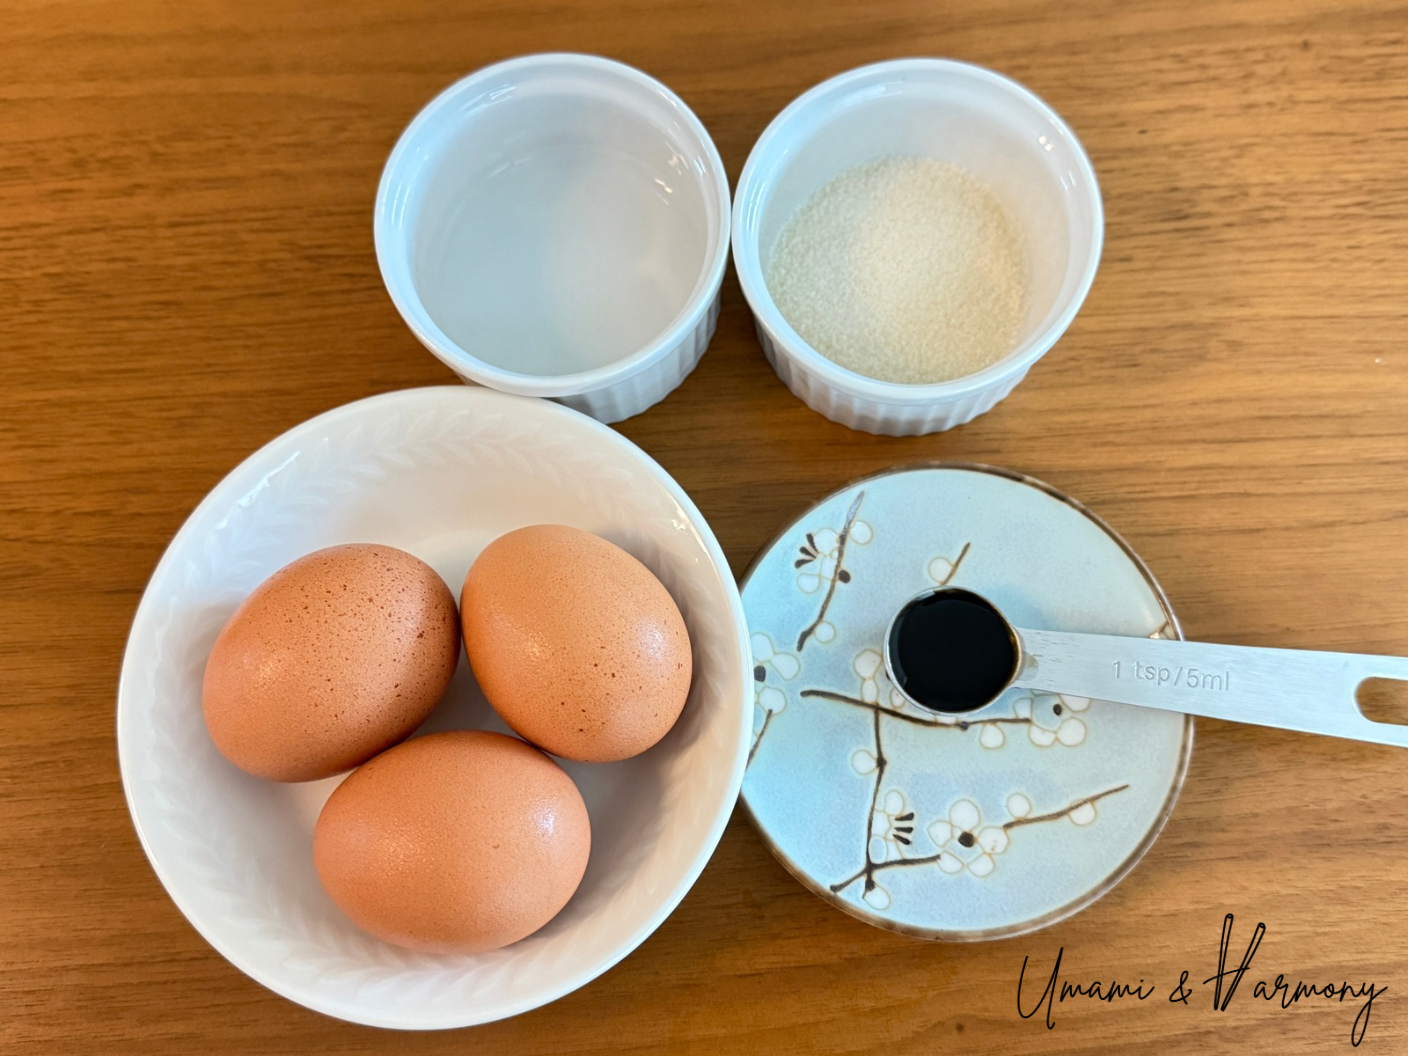
Egg Mixture
- 3 large eggs
- 1 tablespoon sugar
- 1 tablespoon water
- 1 teaspoon soy sauce
For cooking
- Oil (as needed for greasing the pan)
Step-By-Step Instructions
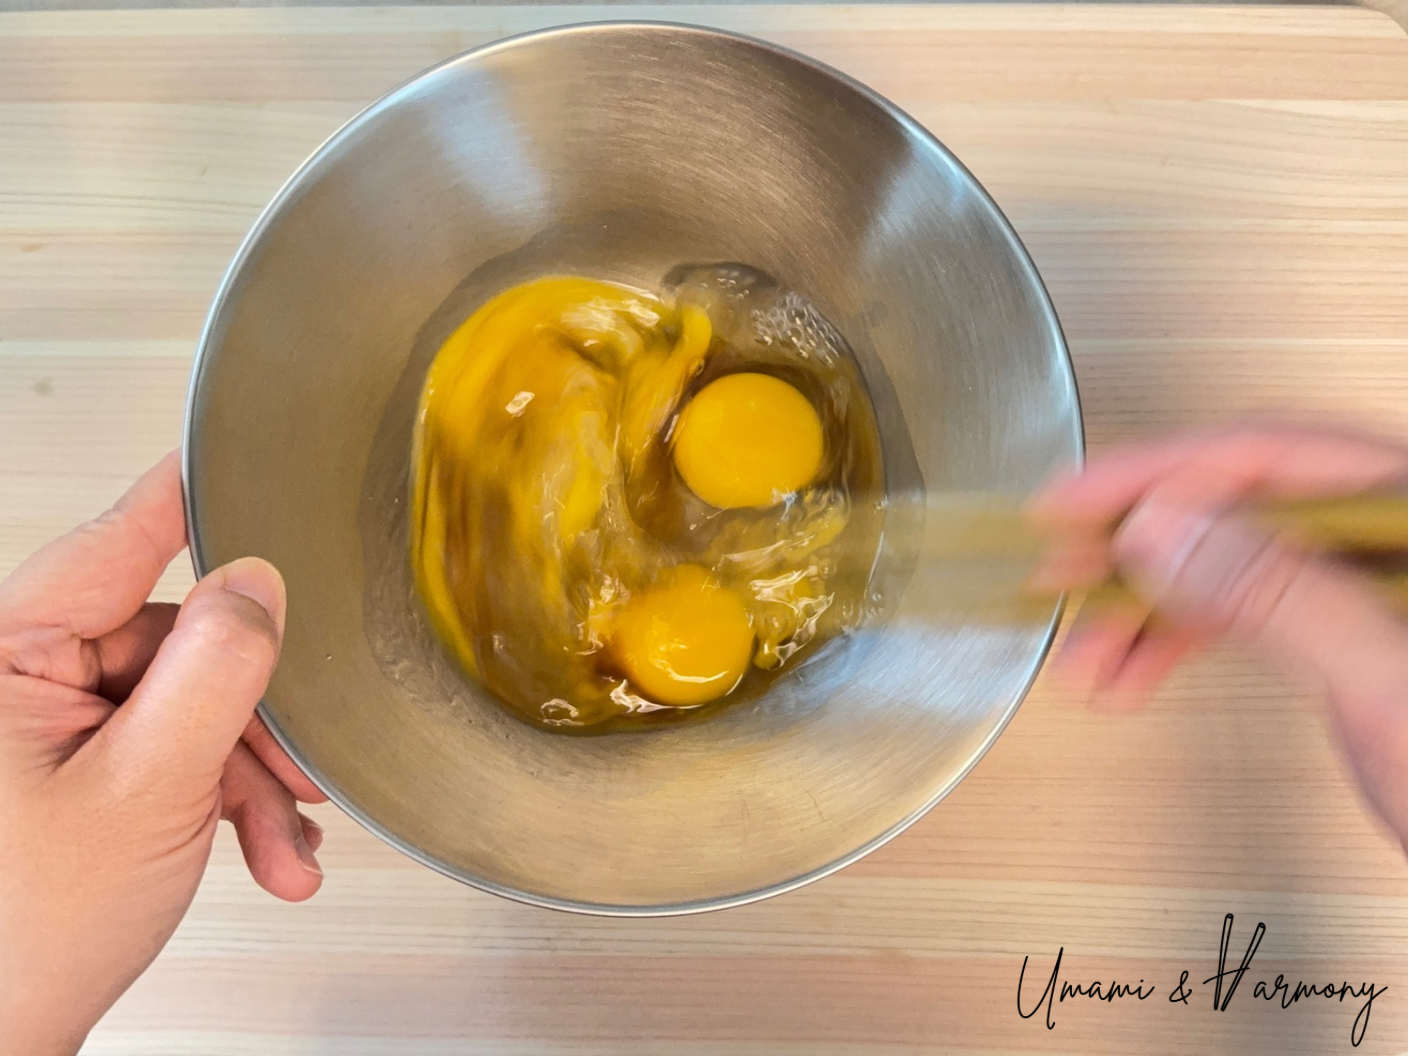
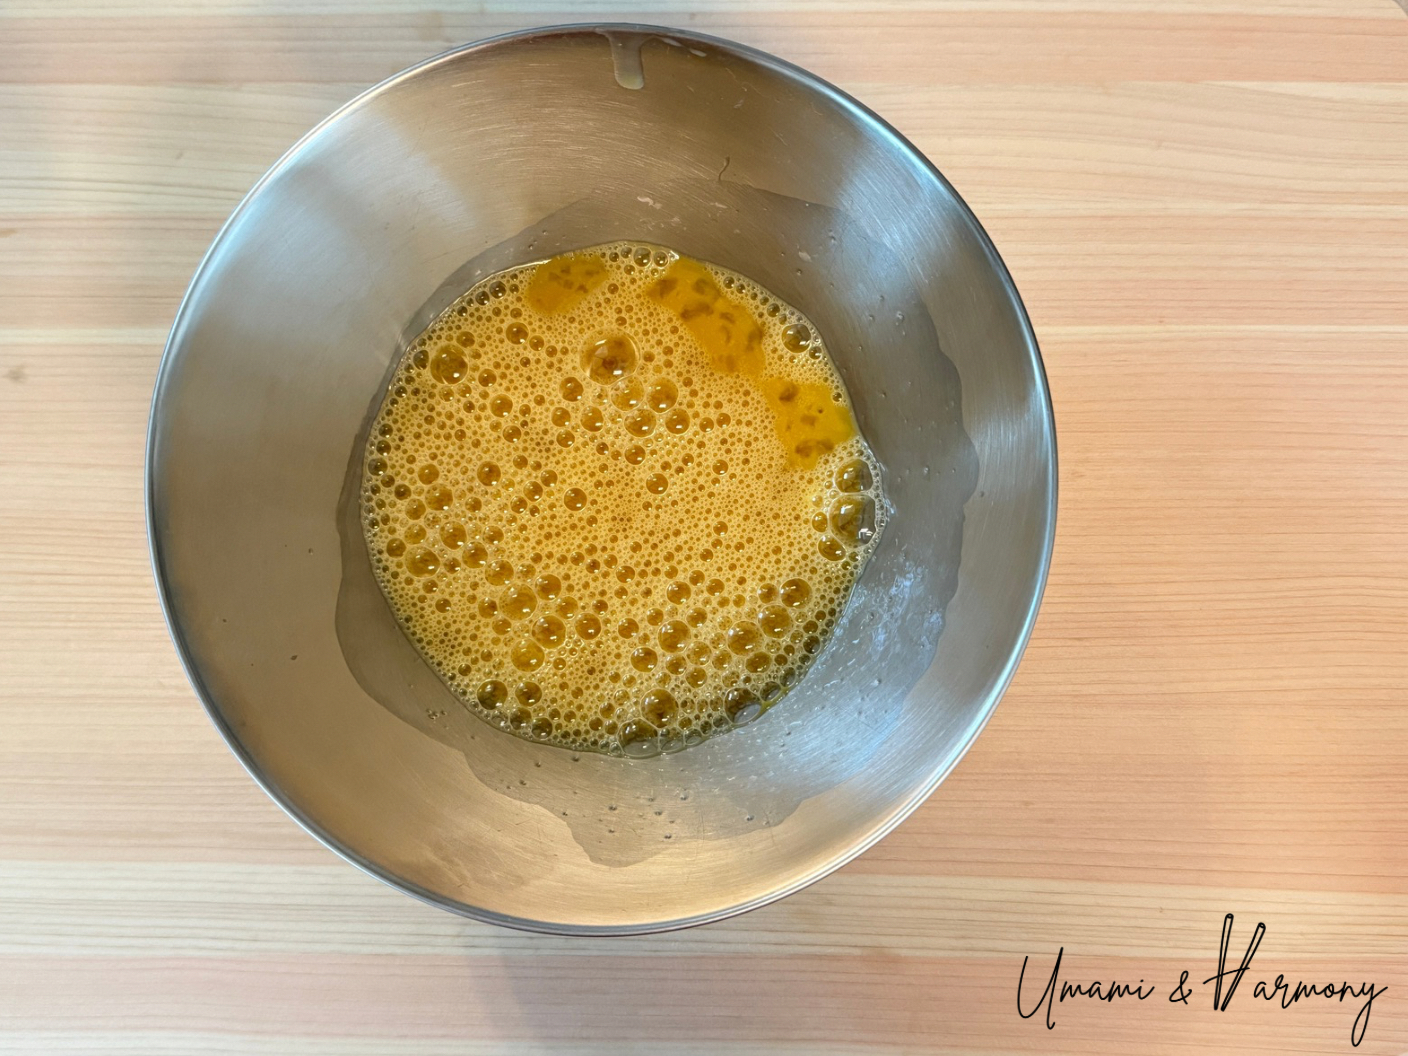
Step 1: Make the egg mixture
Add the eggs, sugar, water, and soy sauce to a mixing bowl. Whisk until the mixture is smooth and evenly combined.

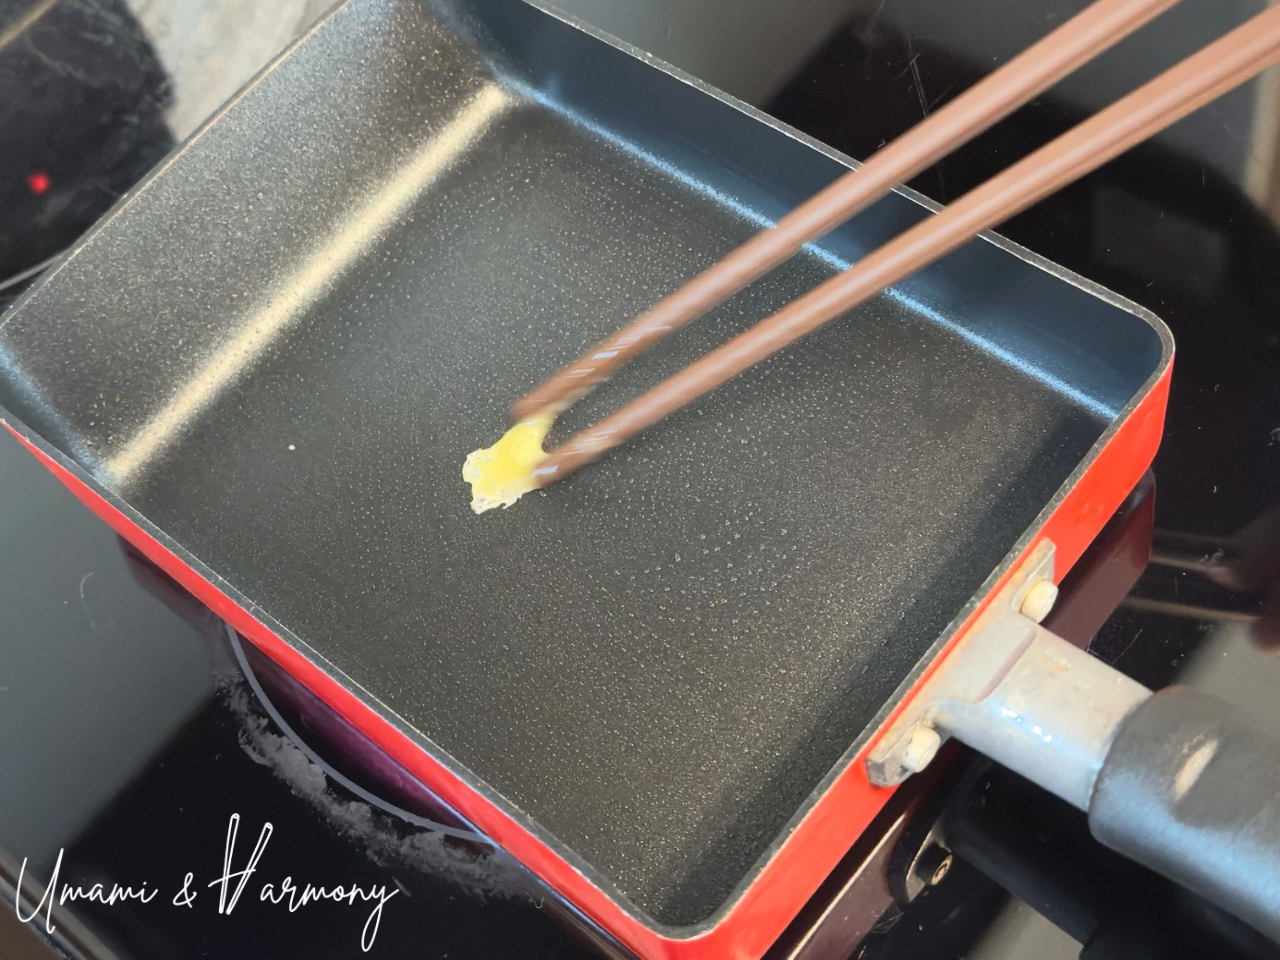
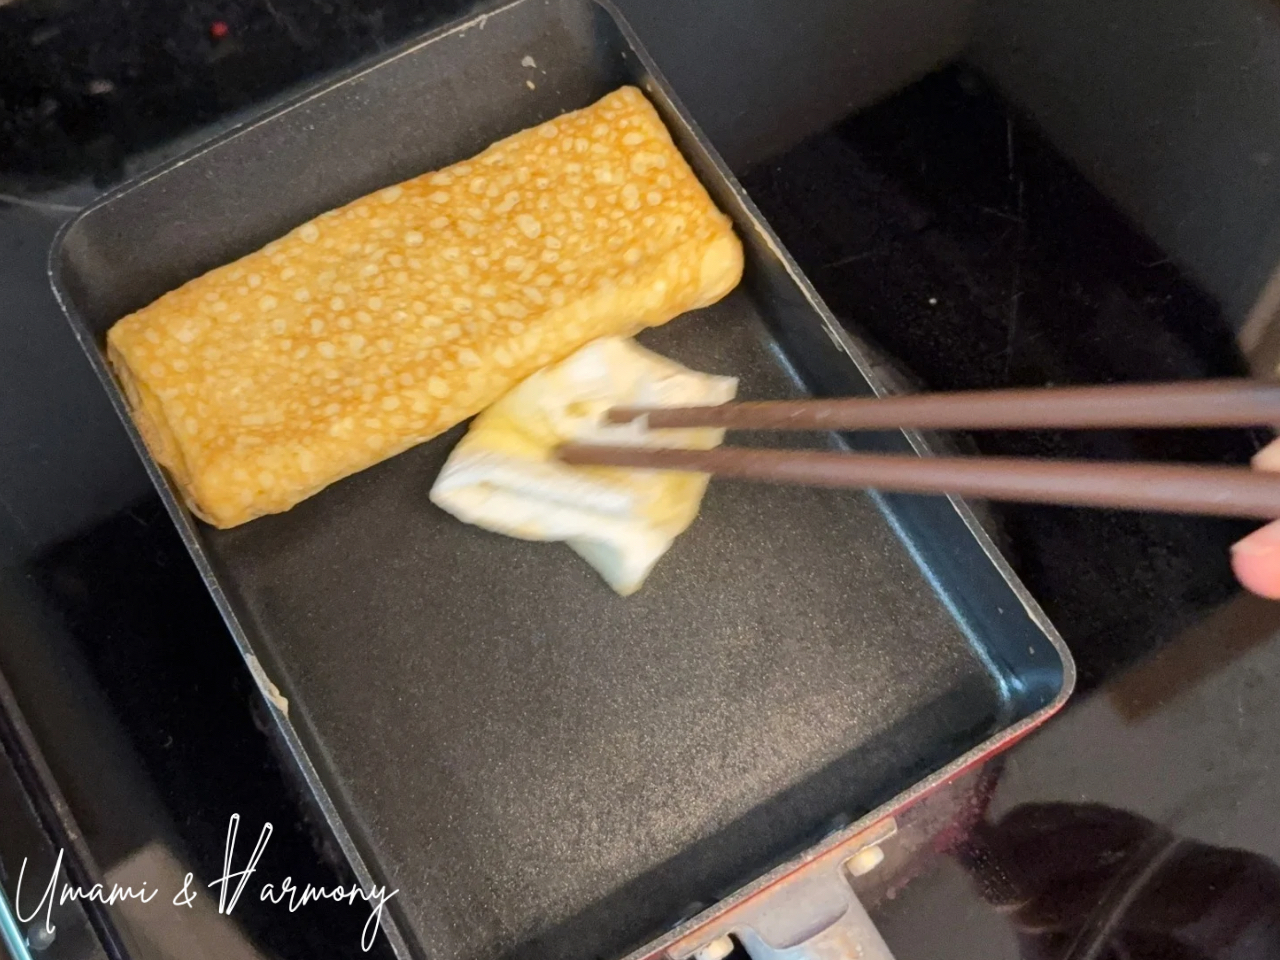
Step 2: Prepare the pan
Lightly oil a tamagoyaki (rectangular) pan using a folded kitchen paper. Make sure the oil is spread evenly. To check if the pan is hot enough, drop a little egg mixture with chopsticks—if it sizzles lightly and begins to cook right away, the pan is ready.

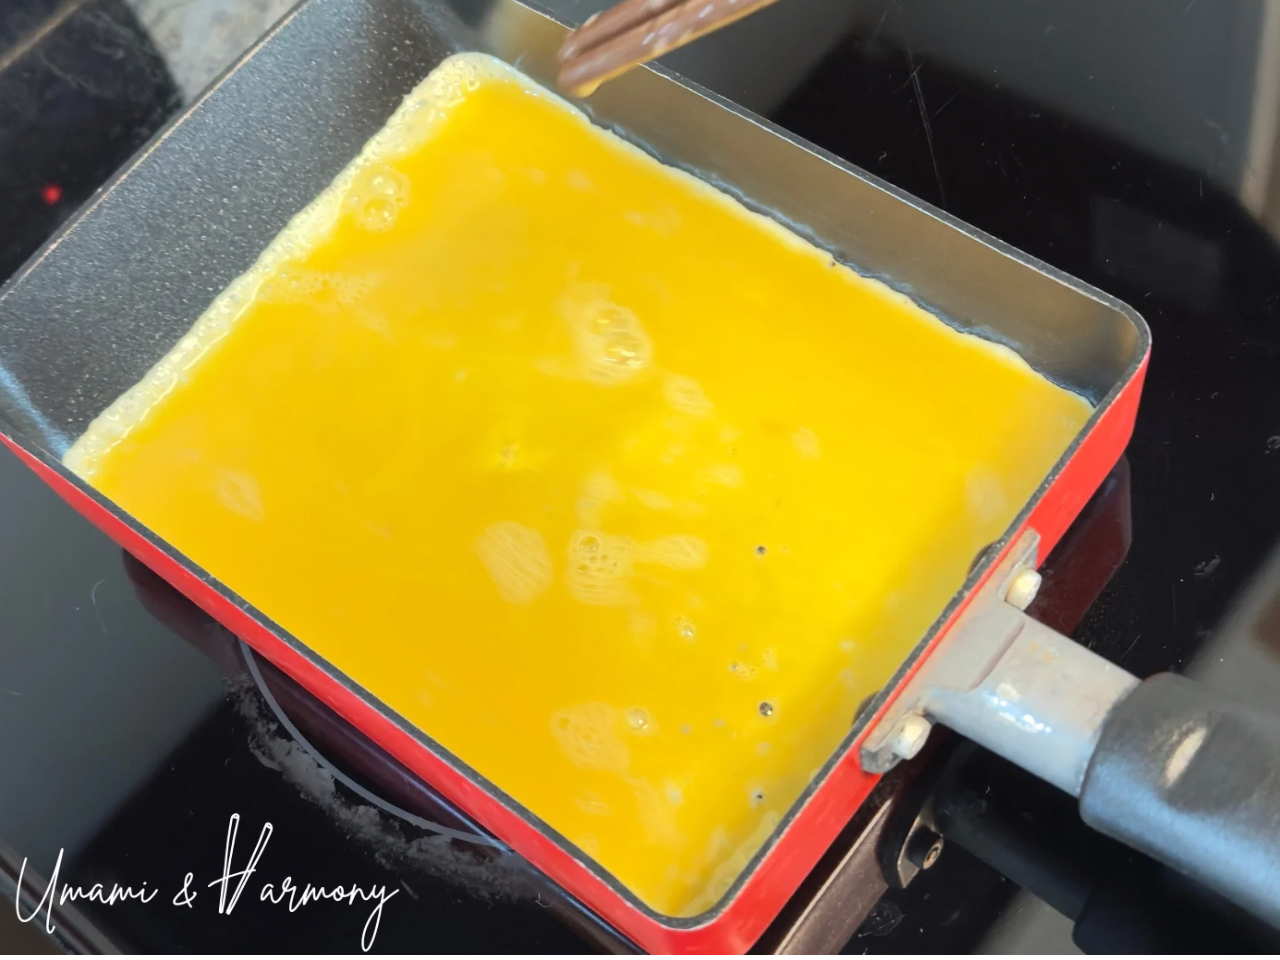
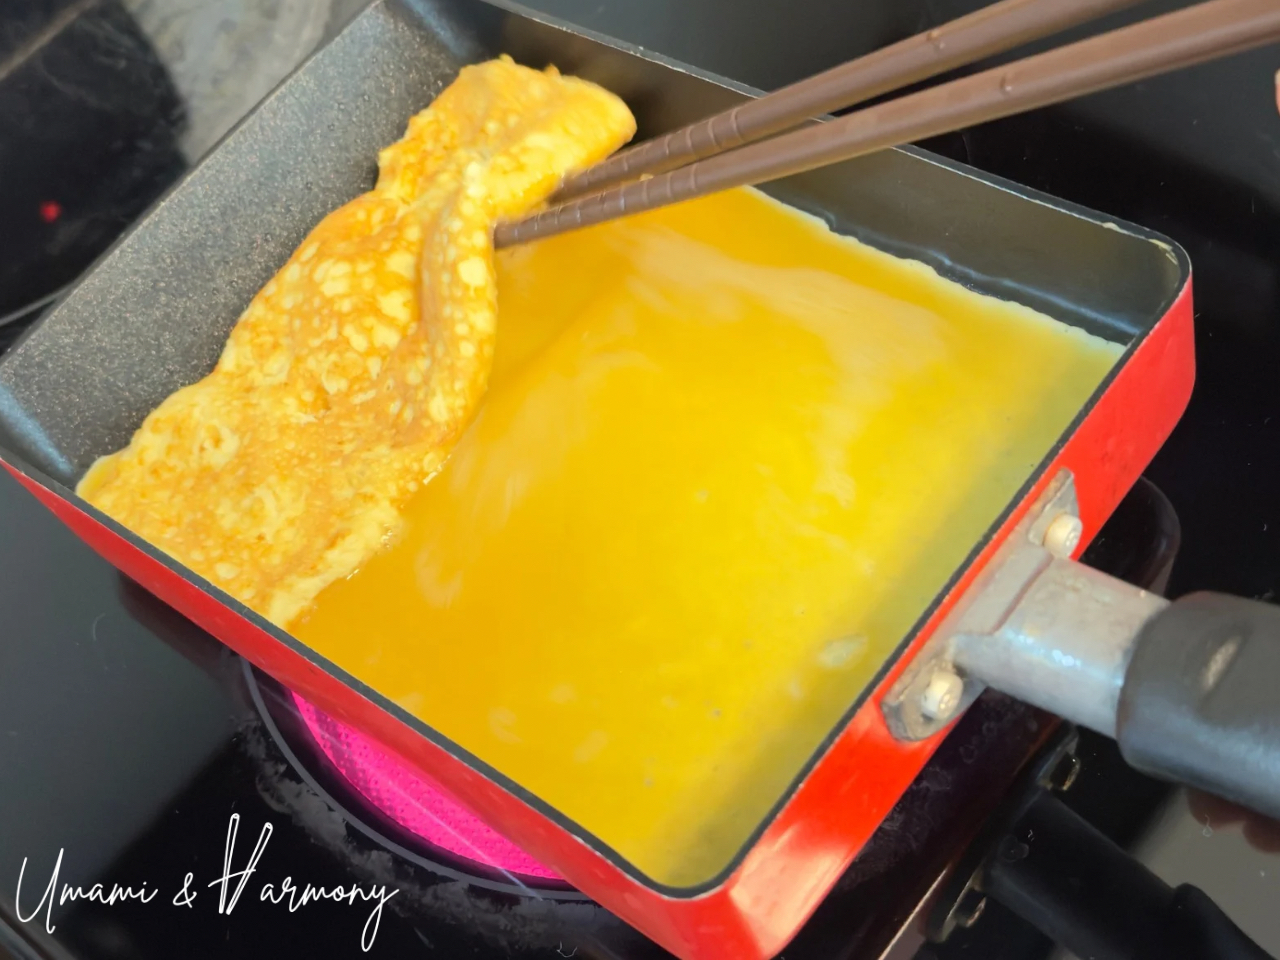
Step 3: Cook the first layer
Pour one-third of the egg mixture into the pan, tilting it to spread evenly. When the egg is about 80–90% cooked, roll it up from the near edge toward the far side in three folds. Don’t worry if the shape isn’t perfect—this layer will be on the inside.
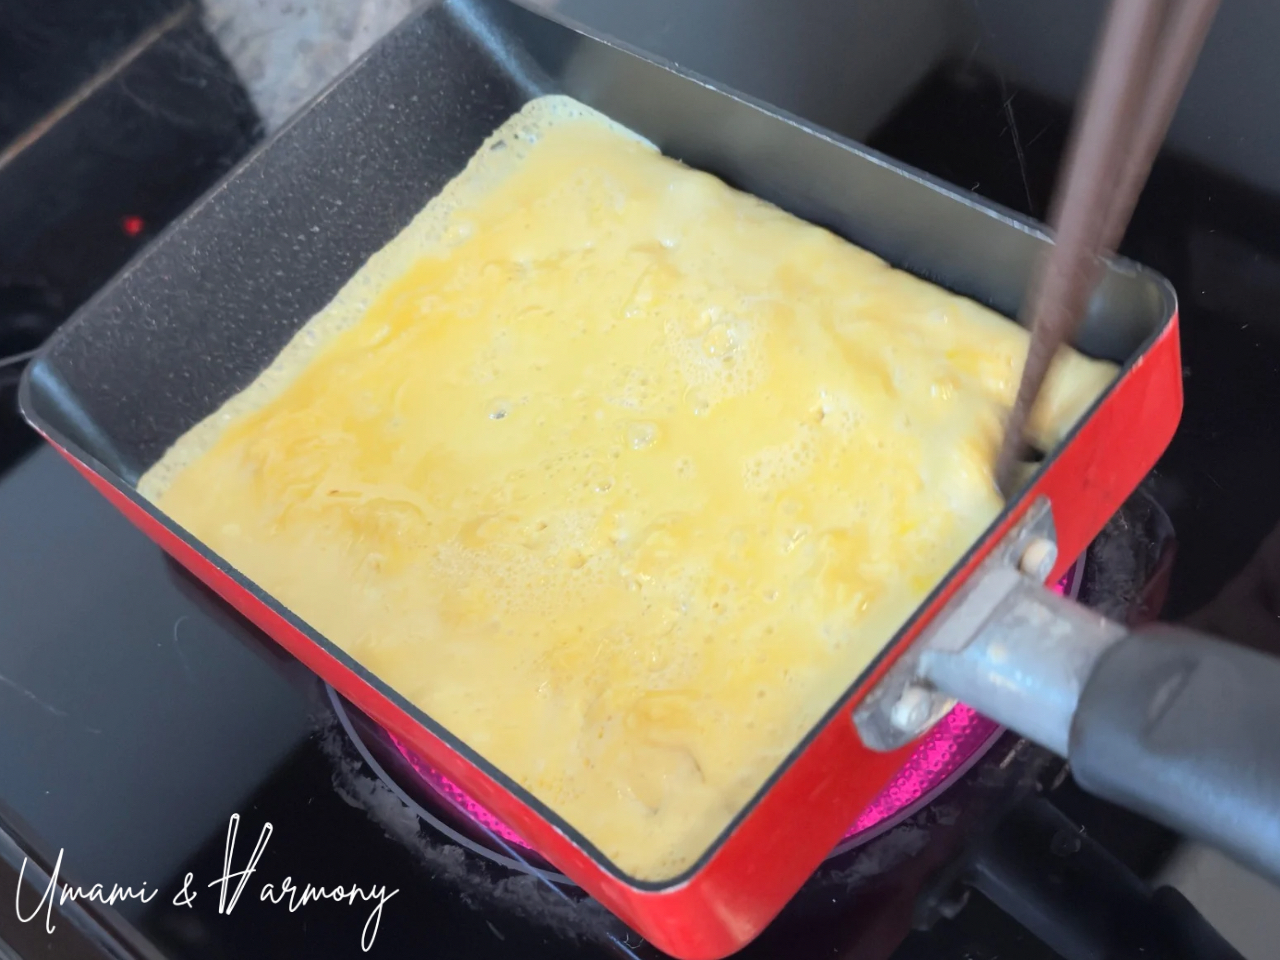
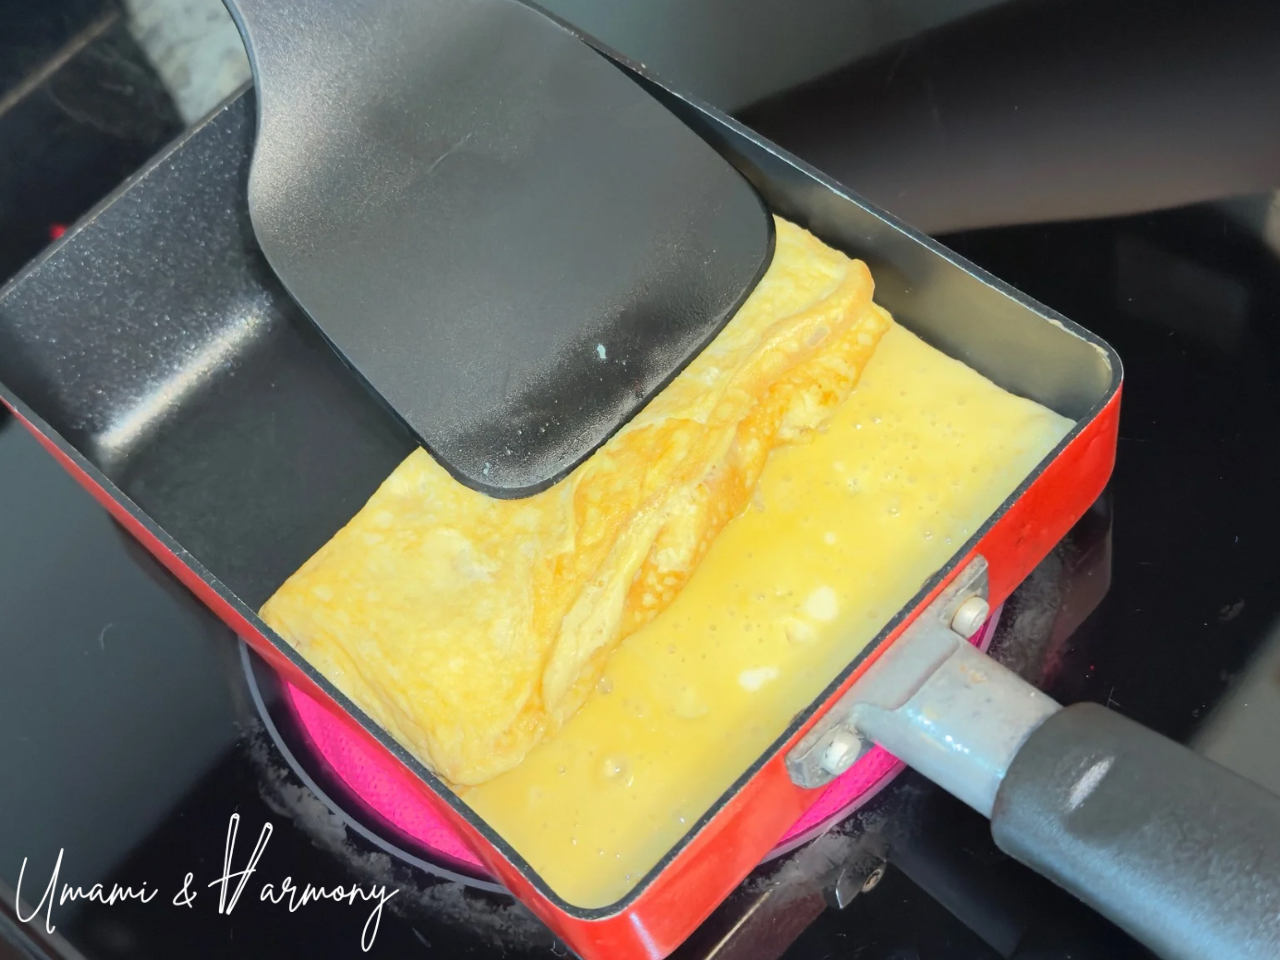
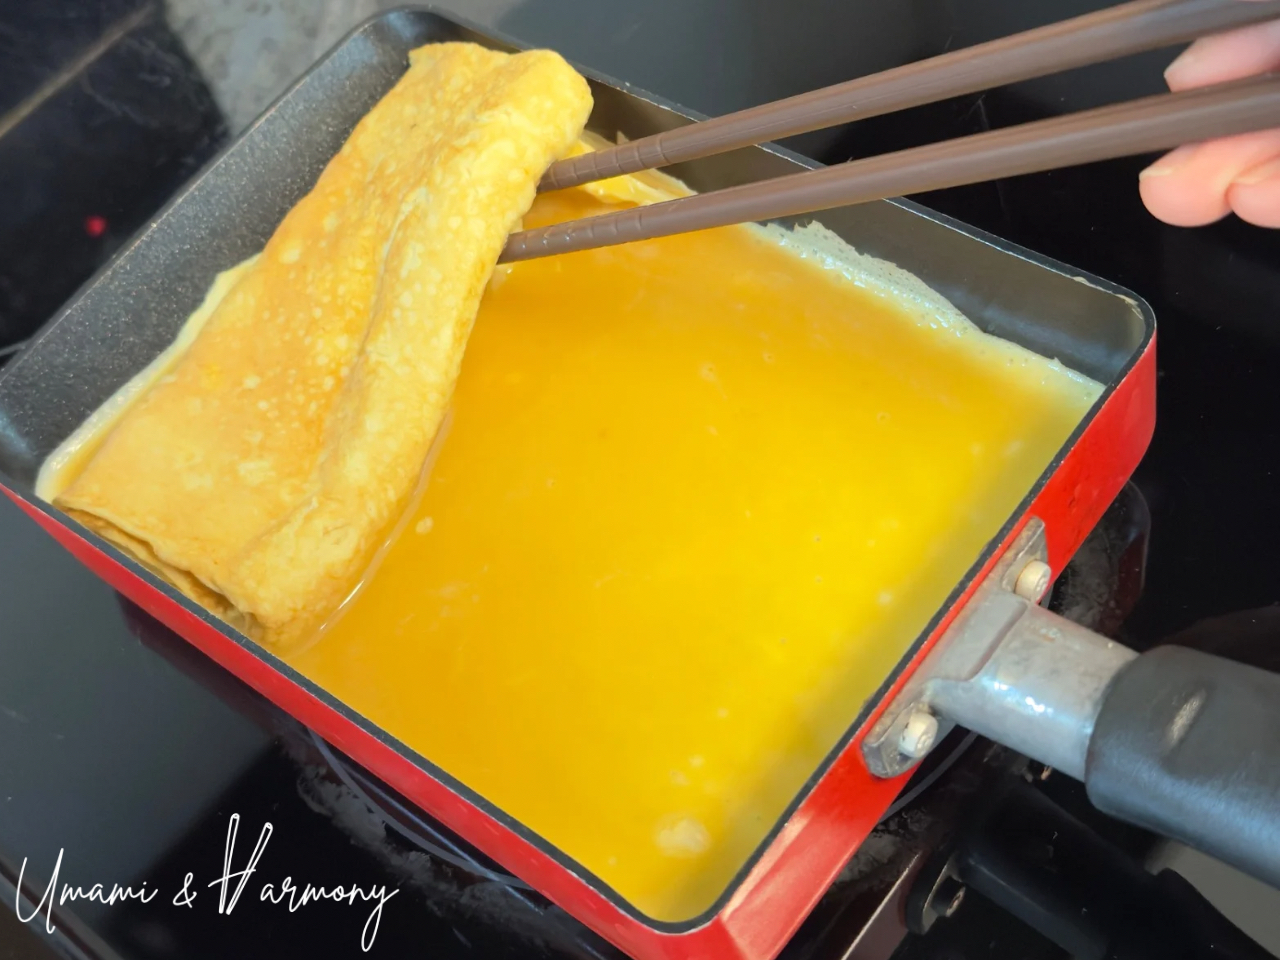
Step 4: Cook the second layer
Add another one-third of the egg mixture. Lift the rolled egg slightly with chopsticks so the new mixture flows underneath. Once mostly set, roll the omelet back toward you. You can also use a spatula if that’s easier.
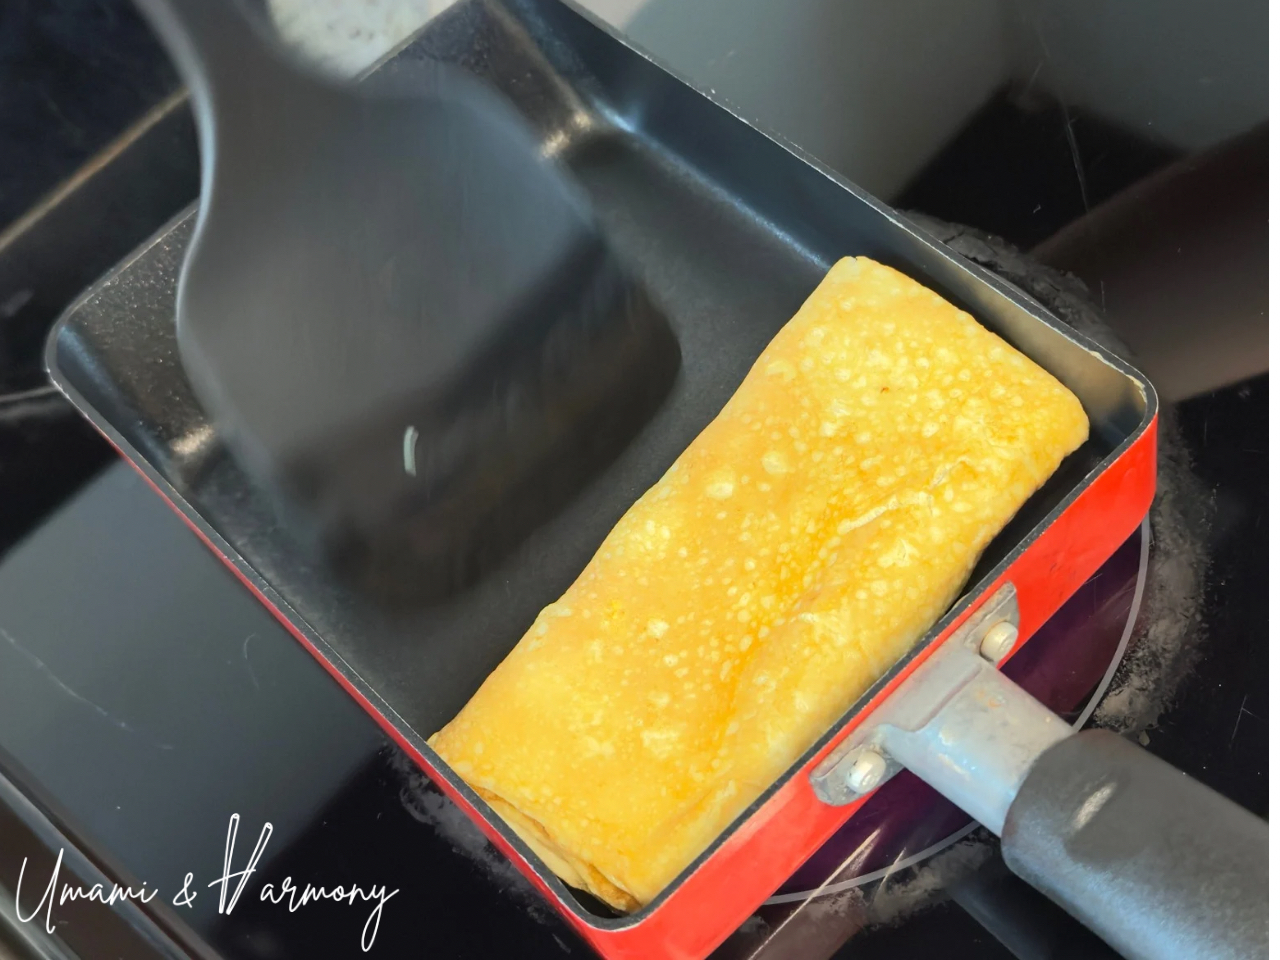
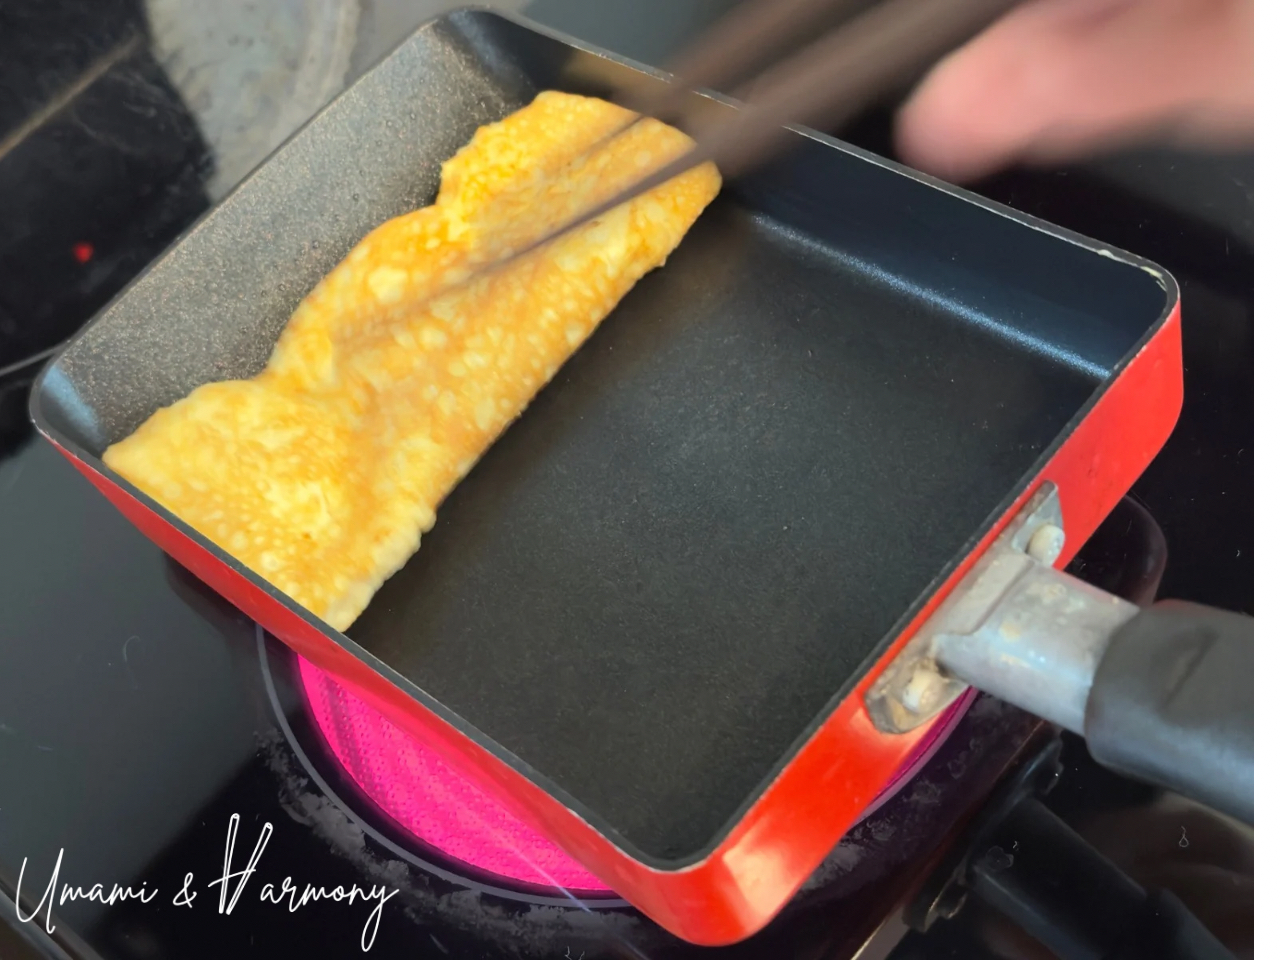
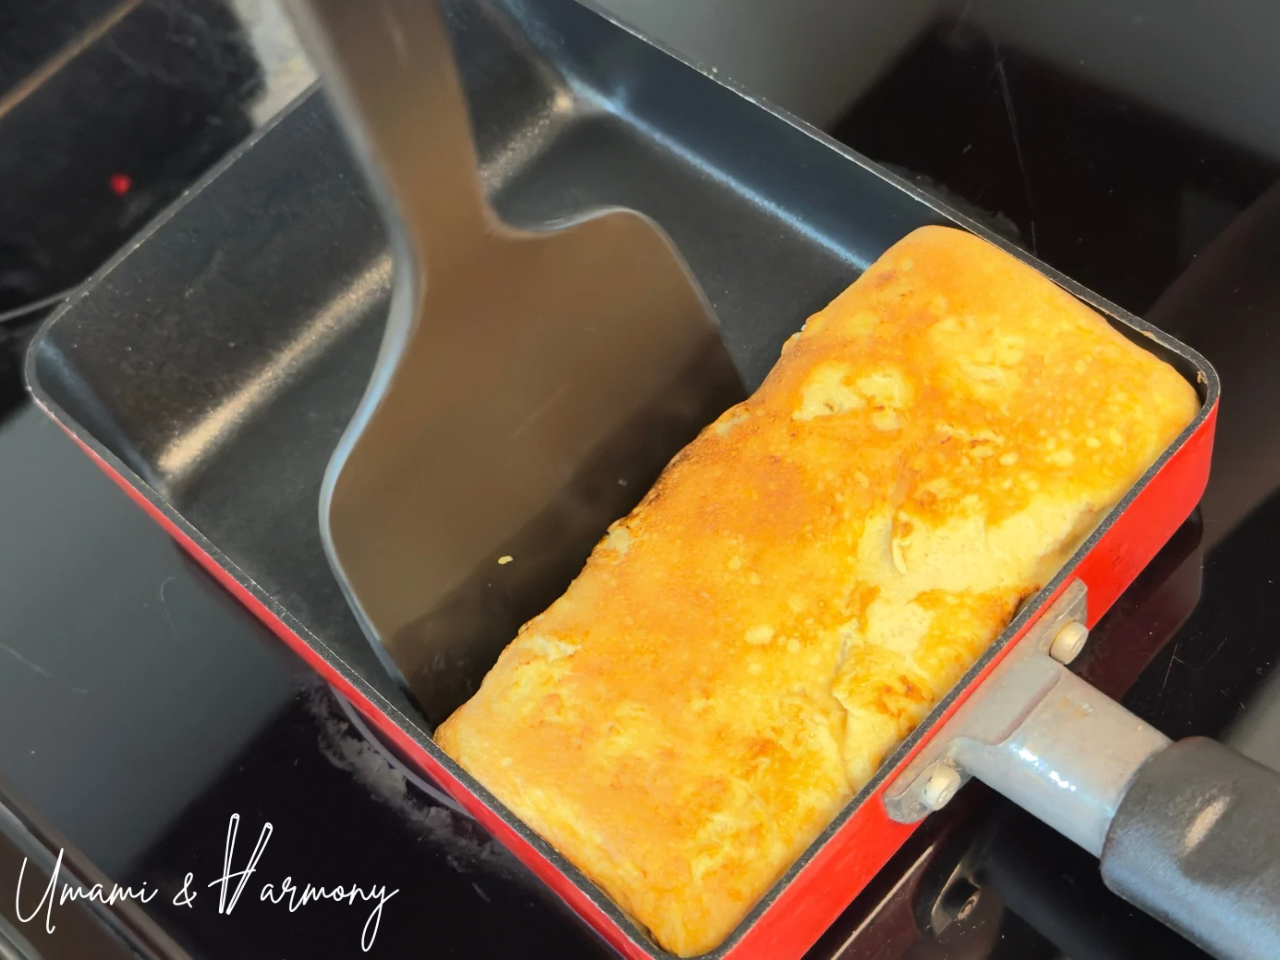
Step 5: Cook the final layer
Push the rolled omelet to the far side of the pan. Add the remaining one-third of the egg mixture, oiling the pan again if needed. When mostly cooked, roll the omelet toward you one last time. Shape it gently with chopsticks or a spatula.
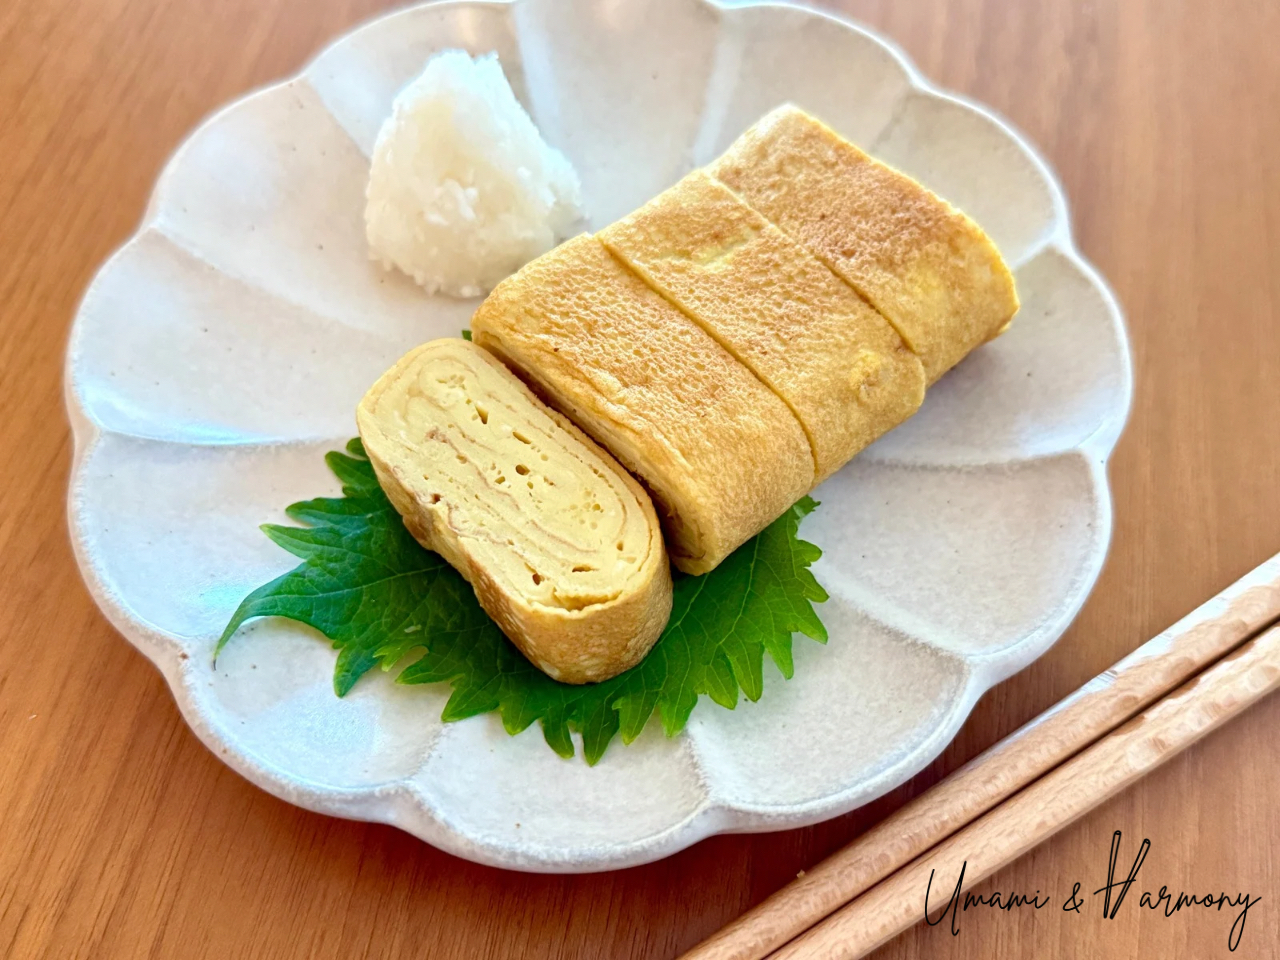
Step 6: Finish and serve
Remove from the pan, let it cool slightly, then slice into bite-sized pieces. Serve warm, pack into a bento box, or enjoy with grated daikon radish on the side.
Recipe Tips
- Don’t skip oiling the pan: Lightly oiling with a paper towel between each layer prevents sticking and helps with even browning.
- Rest before slicing: Let the tamagoyaki cool for a minute before cutting to keep the slices neat.
FAQ
Can I make tamagoyaki without a rectangular pan?
Yes! You can use a small nonstick round skillet. The shape won’t be exactly the same, but you can trim the edges and it will look almost like the traditional version—and of course, taste just as good. For a 3-egg recipe, I recommend an 8-inch round nonstick pan.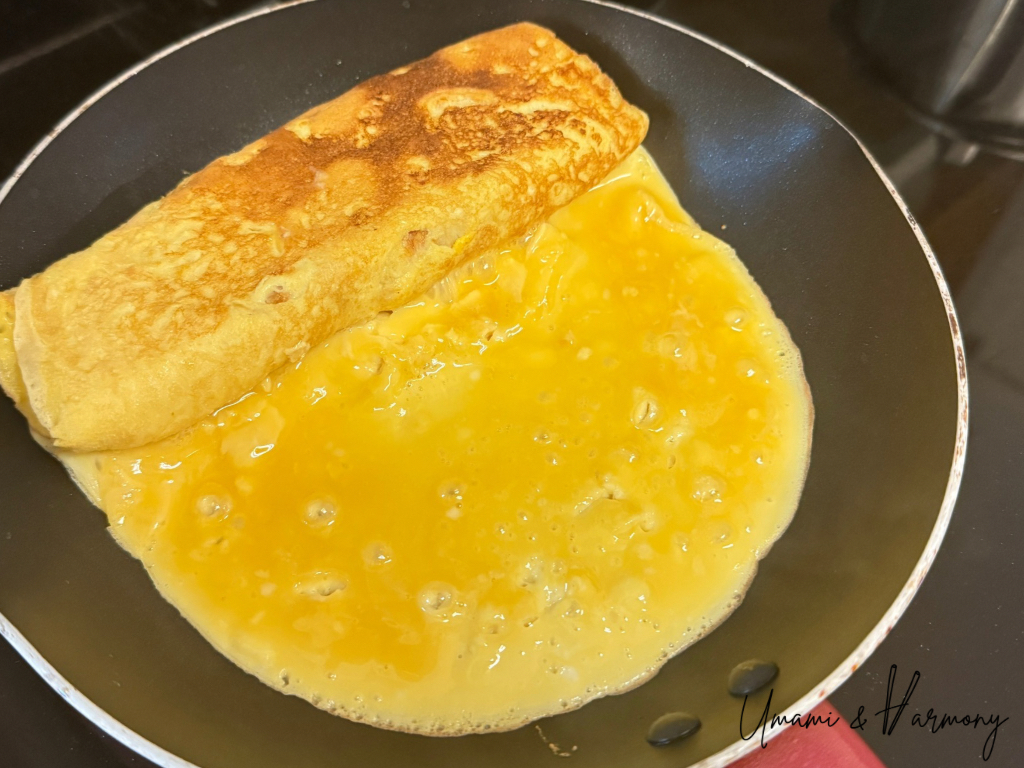
My tamagoyaki keeps sticking—what should I do?
Make sure your pan is well-oiled and preheated before pouring in the eggs. A good nonstick pan makes all the difference, especially for beginners—it makes rolling much easier and prevents sticking.
Tamagoyaki (Japanese Rolled Omelette)
Ingredients
Egg Mixture
- 3 large eggs
- 1 tablespoon sugar
- 1 Tbsp water
- 1 tspn soy sauce
For cooking and garnishment
- oil (as needed for greasing the pan) (canola, vegetable or olive)
- grated daikon radish
Instructions
- Make the egg mixture: Add the eggs, sugar, water, and soy sauce to a mixing bowl. Whisk until the mixture is smooth and evenly combined.
- Prepare the pan: Lightly oil a tamagoyaki (rectangular) pan using a folded kitchen paper. Make sure the oil is spread evenly. To check if the pan is hot enough, drop a little egg mixture with chopsticks—if it cooks right away, the pan is ready.
- Cook the first layer: Pour one-third of the egg mixture into the pan, tilting it to spread evenly. When the egg is about 80–90% cooked, roll it up from the near edge toward the far side in three folds. Don’t worry if the shape isn’t perfect—this layer will be on the inside.
- Cook the second layer: Add another one-third of the egg mixture. Lift the rolled egg slightly with chopsticks so the new mixture flows underneath. Once mostly set, roll the omelet back toward you. You can also use a spatula if that’s easier.
- Cook the final layer: Push the rolled omelet to the far side of the pan. Add the remaining one-third of the egg mixture, oiling the pan again if needed. When mostly cooked, roll the omelet toward you one last time. Shape it gently with chopsticks or a spatula.
- Finish and serve: Remove from the pan, let it cool slightly, then slice into bite-sized pieces. Serve warm, pack into a bento box, or enjoy with grated daikon radish on the side.
Related
Looking for other recipes like this? Try these:


Comments
No Comments