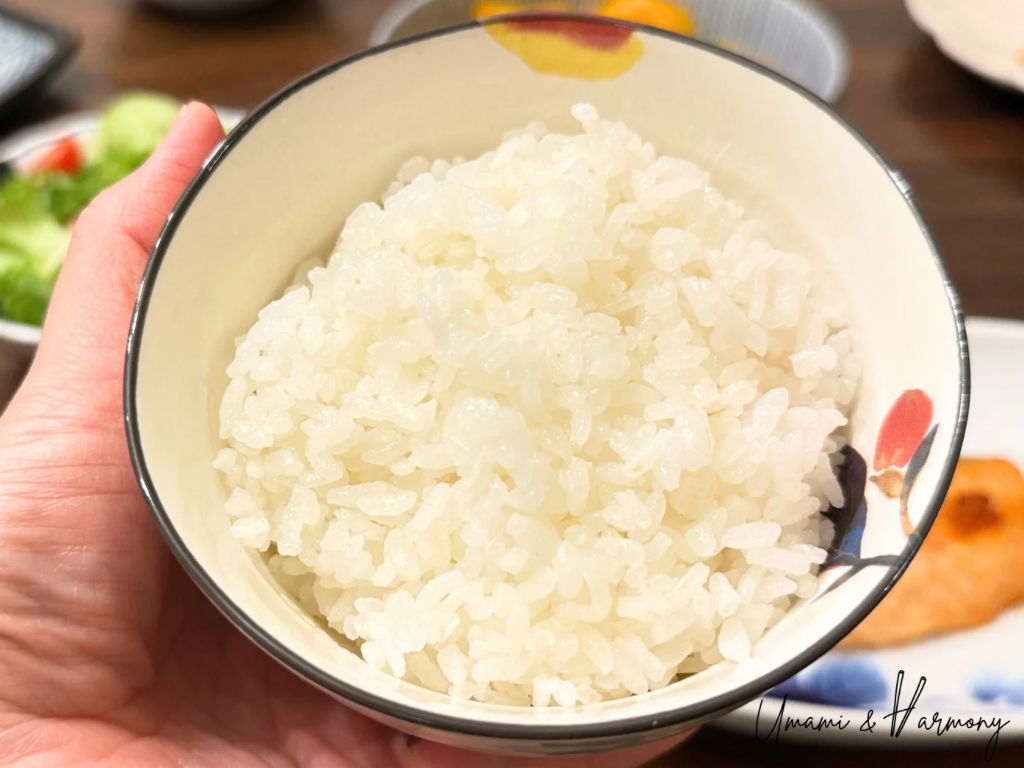
Making sushi rice at home doesn’t require a rice cooker! In this recipe, I’ll show you how to cook sushi rice in a regular pot with just a few easy steps. This method is perfect for anyone who wants to enjoy homemade sushi without special equipment—it’s quick, budget-friendly, and reliable. I often use this stovetop method myself, and the rice always turns out light, fluffy, and shiny with the perfect texture!
Cooking Time: 30 minutes (Soaking Time: 30 minutes to 1 hour)
Ingredients
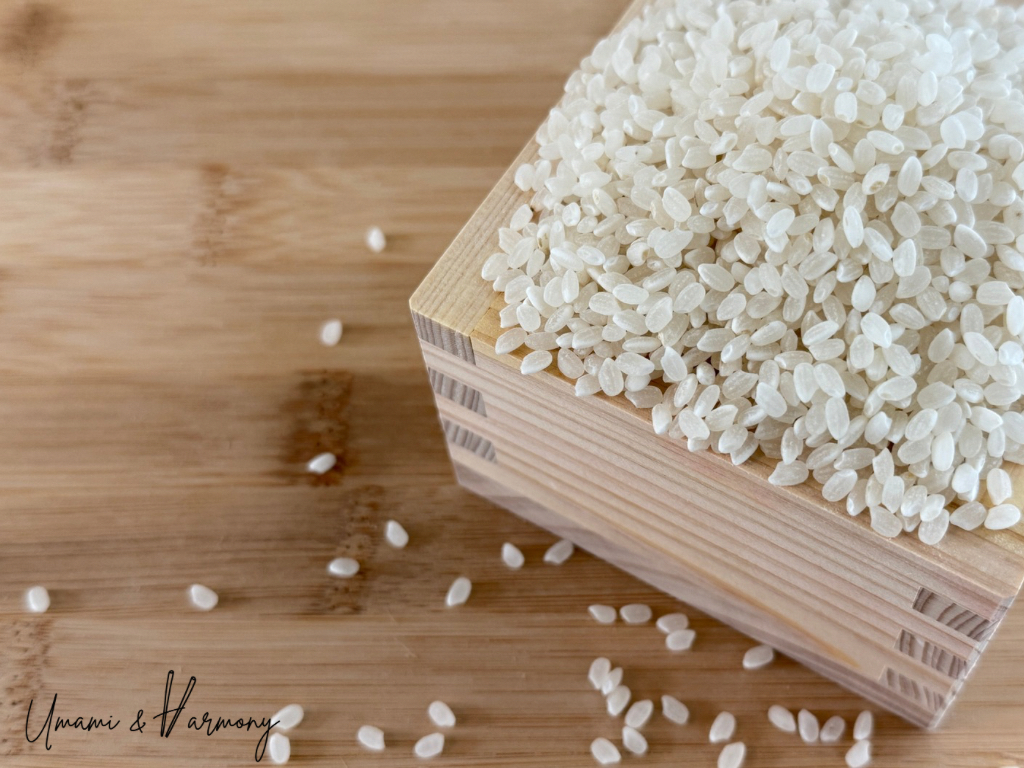
- Japanese short grain rice (Sushi rice)
- Water
For 2 rice measuring cups:
- 2 rice measuring cups short-grain rice (360 ml / 300 g / 10.6 oz ≈ 1 ½ US cups)
- 465 ml water (1.95 US cups)
For 3 rice measuring cups:
- 3 rice measuring cups short-grain rice (540 ml / 450 g / 15.9 oz ≈ 2 ¼ US cups)
- 700 ml water (2.95 US cups)
💡 Note: A “rice measuring cup” (180 ml) usually comes with a rice cooker. If you don’t have one, you can measure using a US standard cup or kitchen scale in grams/oz.
Why Rinse Sushi Rice Before Cooking?
Sushi rice (Japanese short-grain rice) is a staple in Japanese cooking—not just for sushi, but for everyday meals. Cooking delicious rice is simple, but there are a few important steps that make a big difference. One of the most crucial steps is rinsing the rice before cooking.
So, do you really need to rinse sushi rice? The answer is Yes! The surface of rice is coated with a thin layer of bran (called nuka in Japanese). Most of it is removed during the milling process, but some residue remains. If you skip rinsing, this residue can give your rice an unpleasant taste, odor, or cloudy texture. Rinsing properly removes residue bran, which results in rice that’s clean, shiny, and delicious.
Three Essential Tips for Cooking Sushi Rice
Work quickly
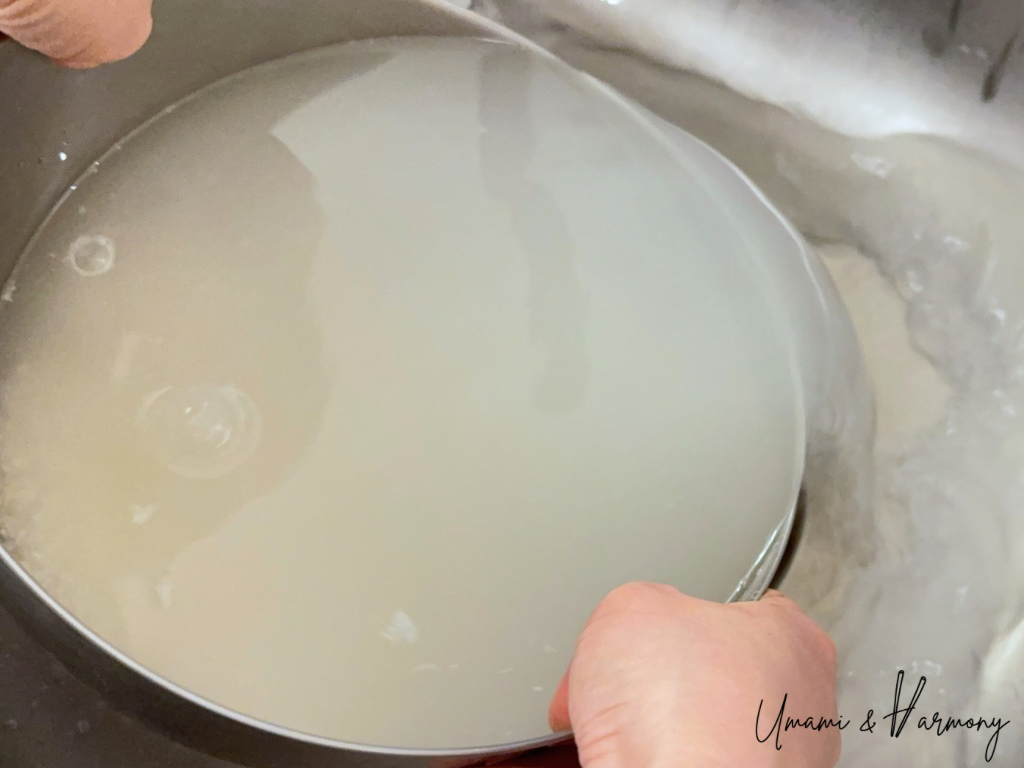
Dry rice absorbs water fast, so you need to move quickly during the rinsing process. Especially at the beginning, don’t let the rice soak in that first cloudy water — drain it right away!
Use cold water
Always rinse with cold water, not warm or hot. (I know that’s tough in winter!) Cold water helps wash away excess starch while preventing the grains from taking in too much water, which can dull the flavor.
Be gentle
When rinsing, don’t press or crush the grains. Instead, gently rub the rice together with your hands so the grains lightly polish each other. This gentle friction removes the remaining bran without breaking the rice.
Step-By-Step Instructions
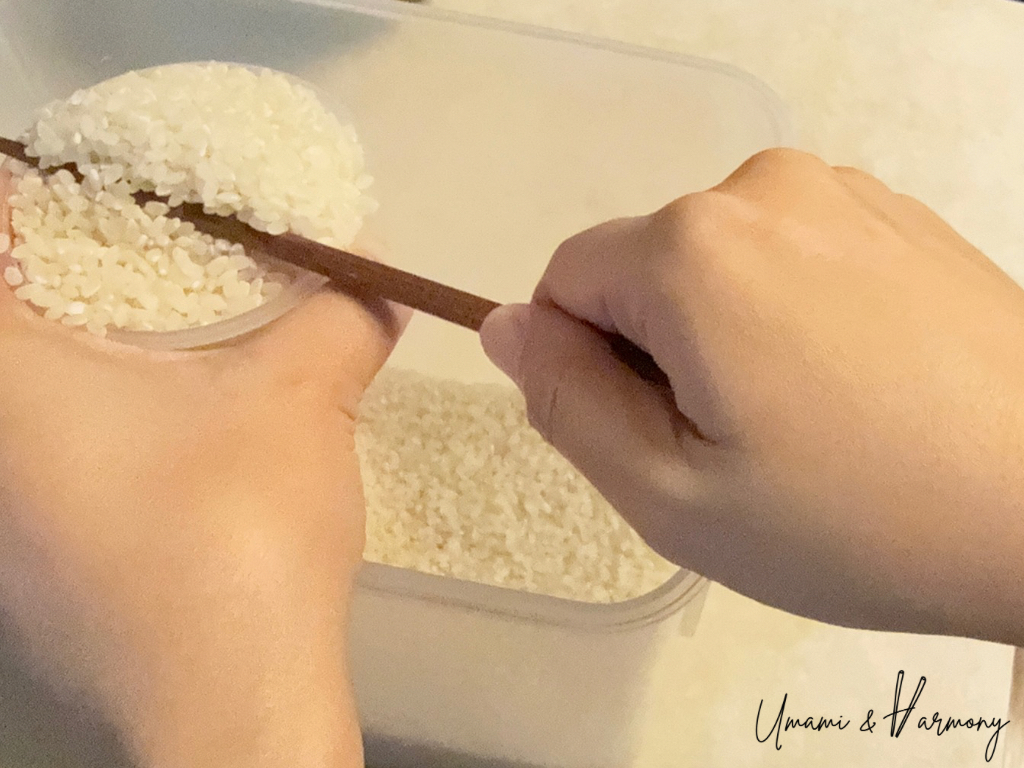
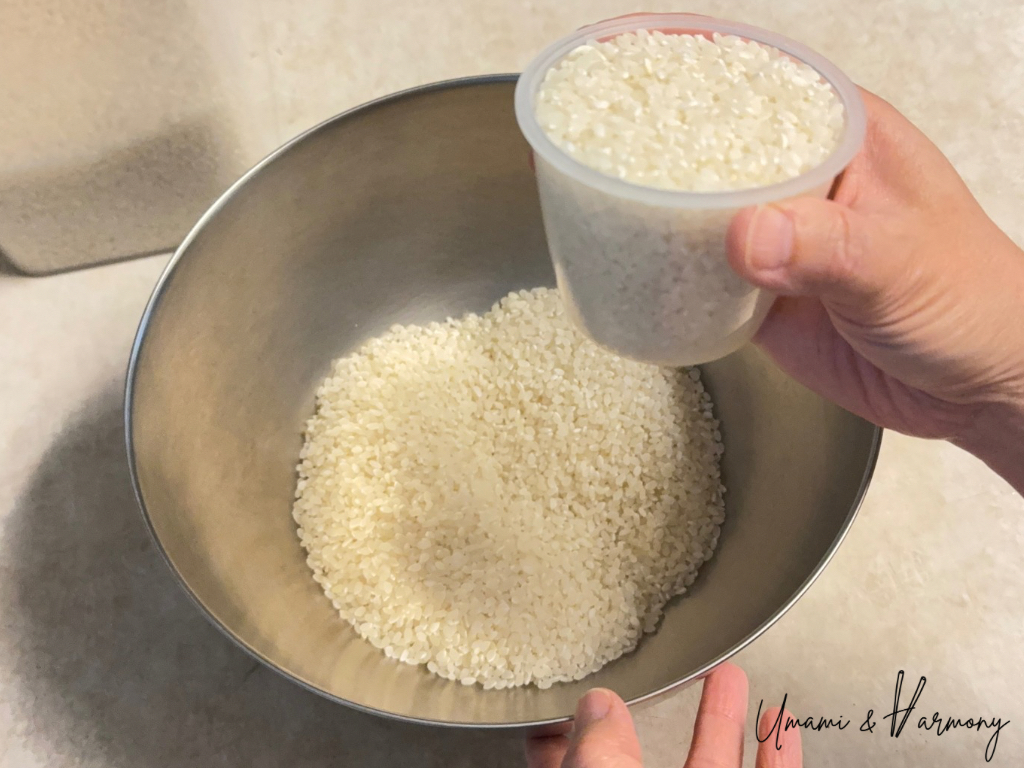
Step 1: Measure the rice
Measure the rice accurately. Fill the measuring cup to the top, then level it off with a chopstick. This step is important because even small differences in rice or water can affect the taste and texture. (1 rice cup = 180 ml = ¾ US cup = 150 g = 5.3 oz).
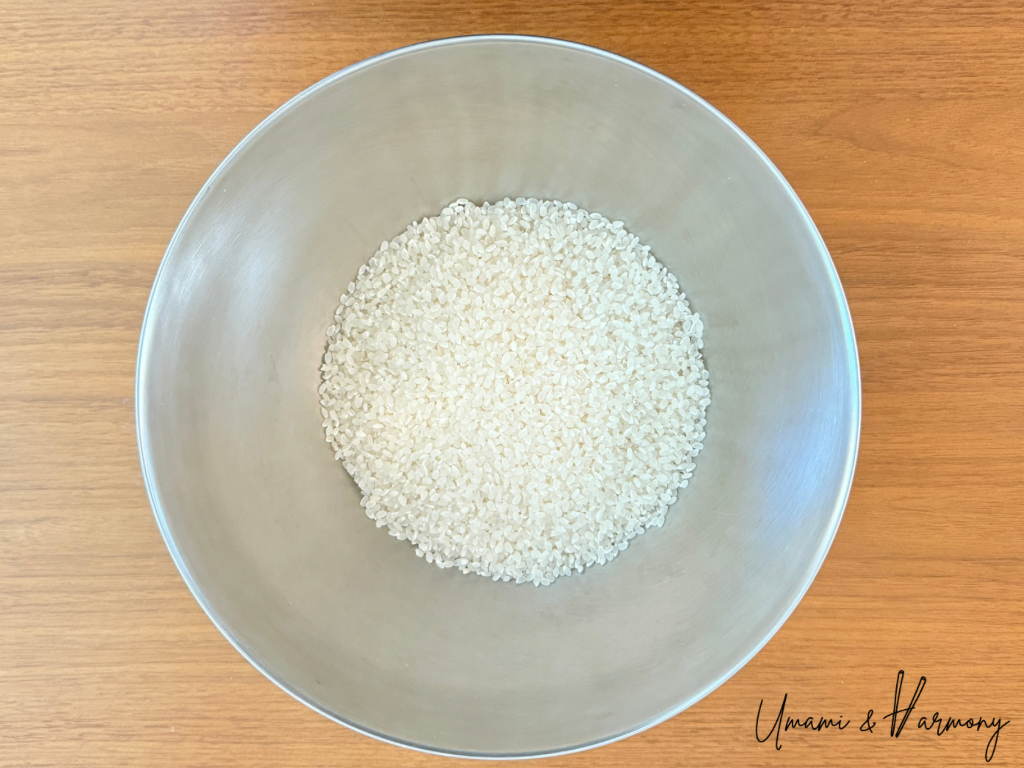
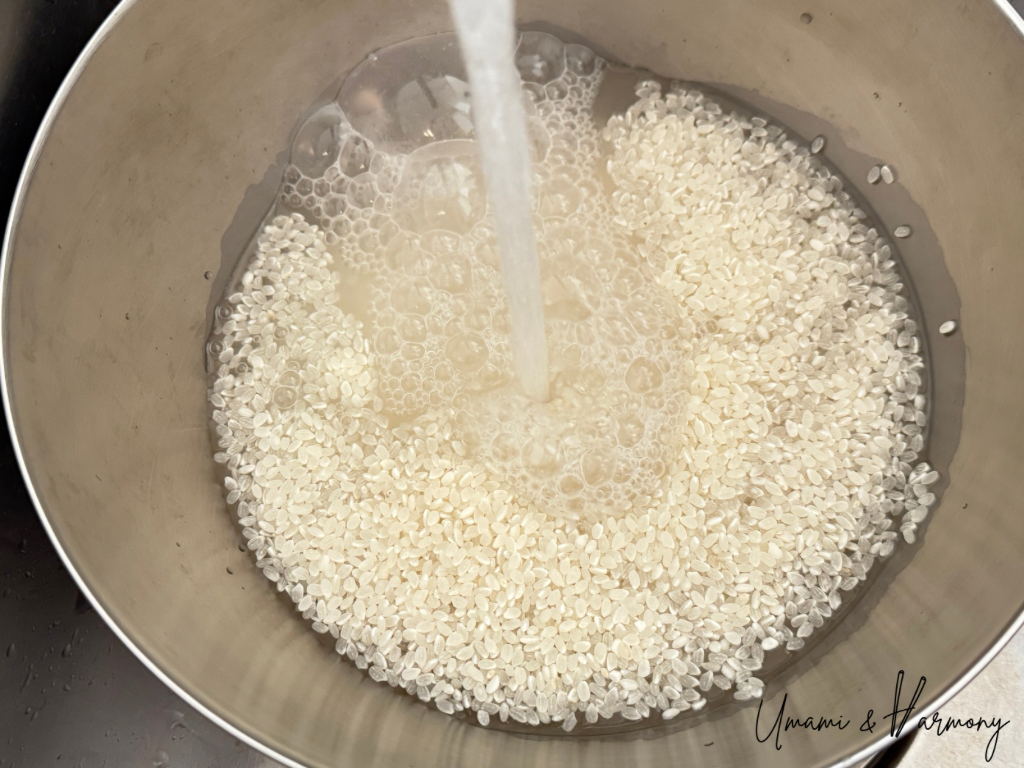
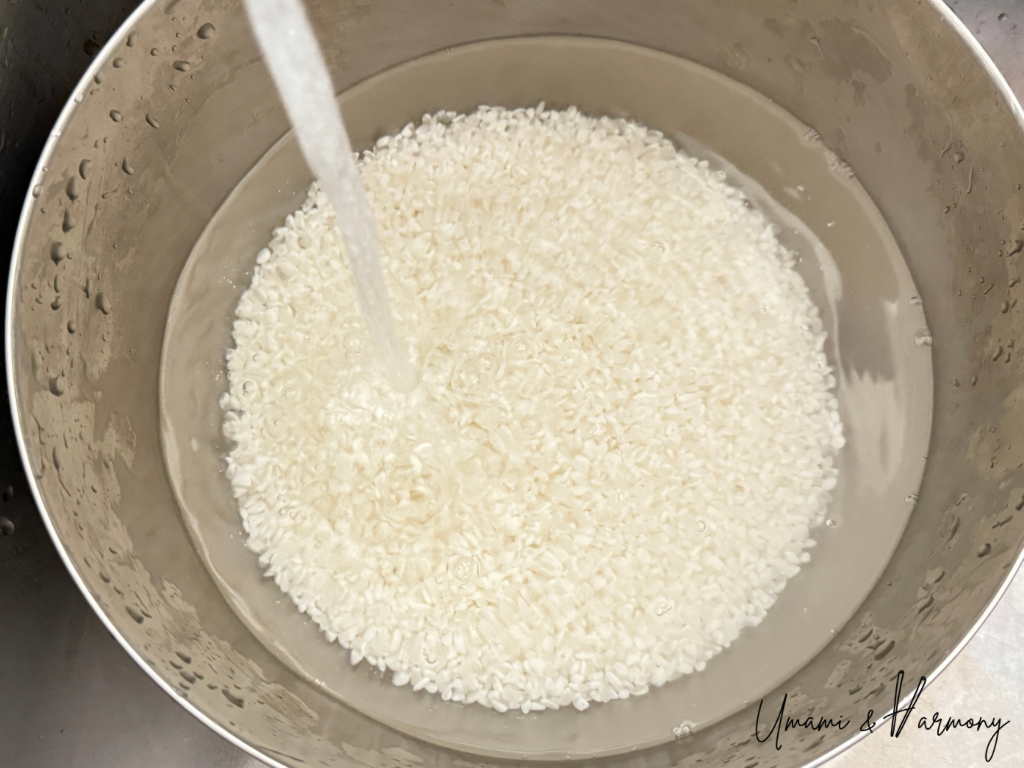
Step 2: First rinse
Place the rice in a large bowl and add cold water. Quickly swirl with your hand, then drain the water right away so the rice doesn’t absorb the cloudy, bran-flavored water. Repeat 2–3 times.
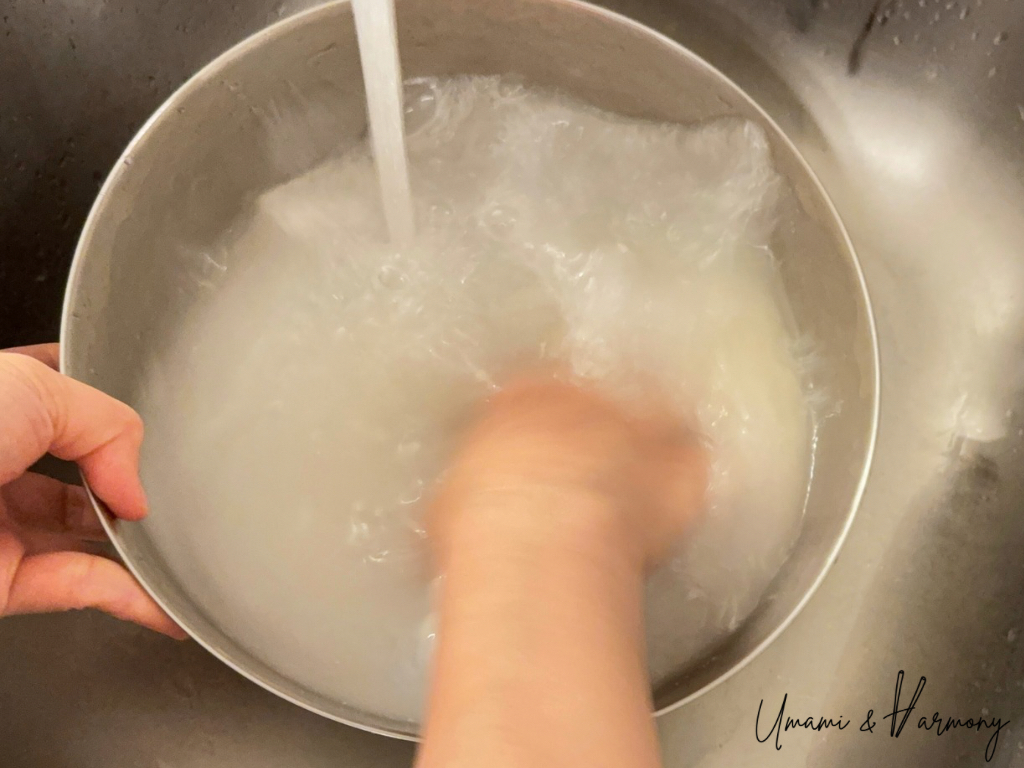
Step 3: Wash the rice
With your hand shaped like a bear claw (fingers slightly spread), gently stir the rice in one direction about 15–20 times. Do not scrub too hard or too fast. Add water, swirl, and drain again. Repeat this process 2–3 times until the water is almost clear.

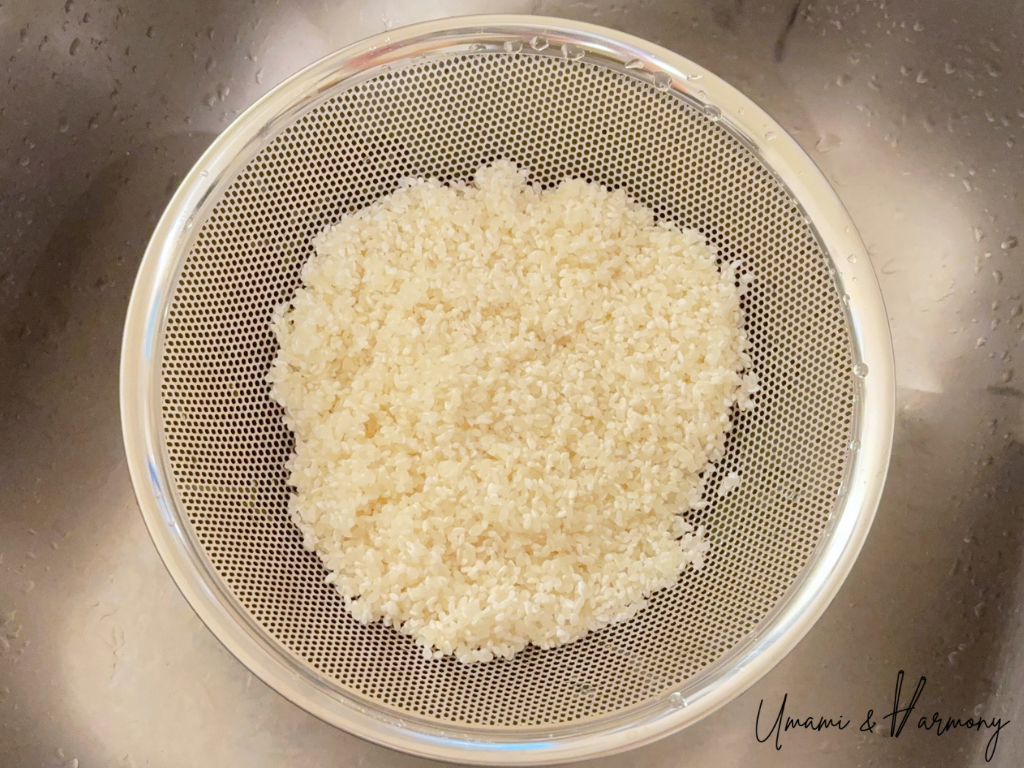
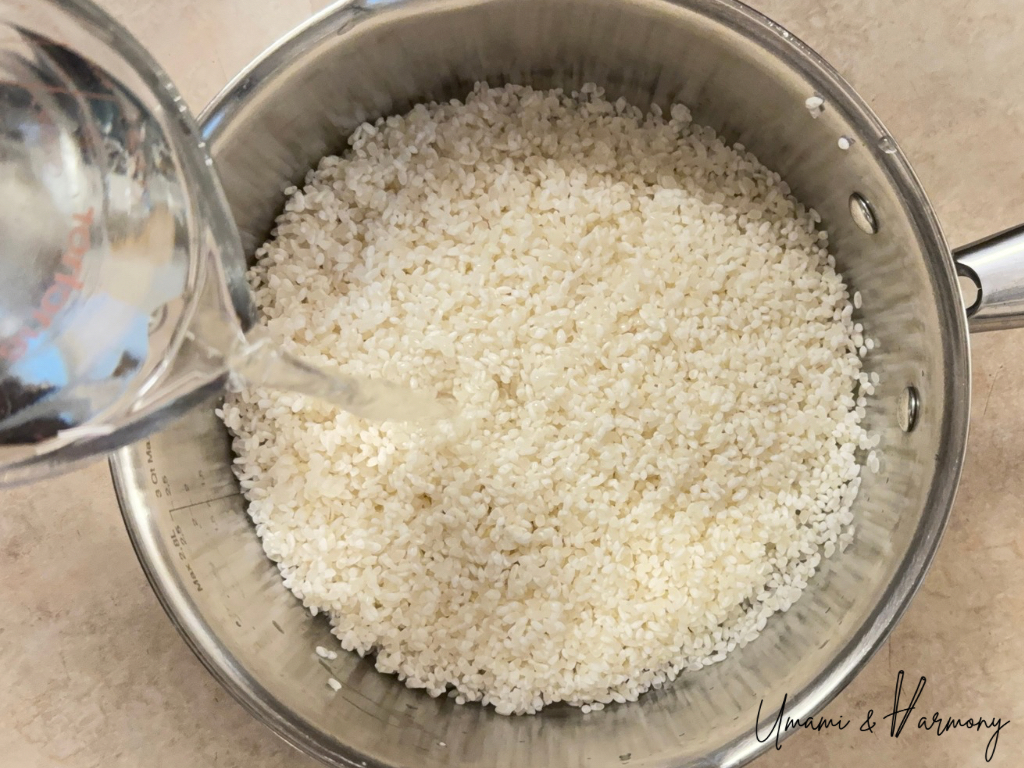
Step 4: Drain and soak
Drain the rice in a strainer, then transfer it to a pot. Add the measured amount of water (the same rice-to-water ratio you measured earlier). Let the rice soak—about 30 minutes in summer or 1 hour in winter. This step helps the rice cook evenly.
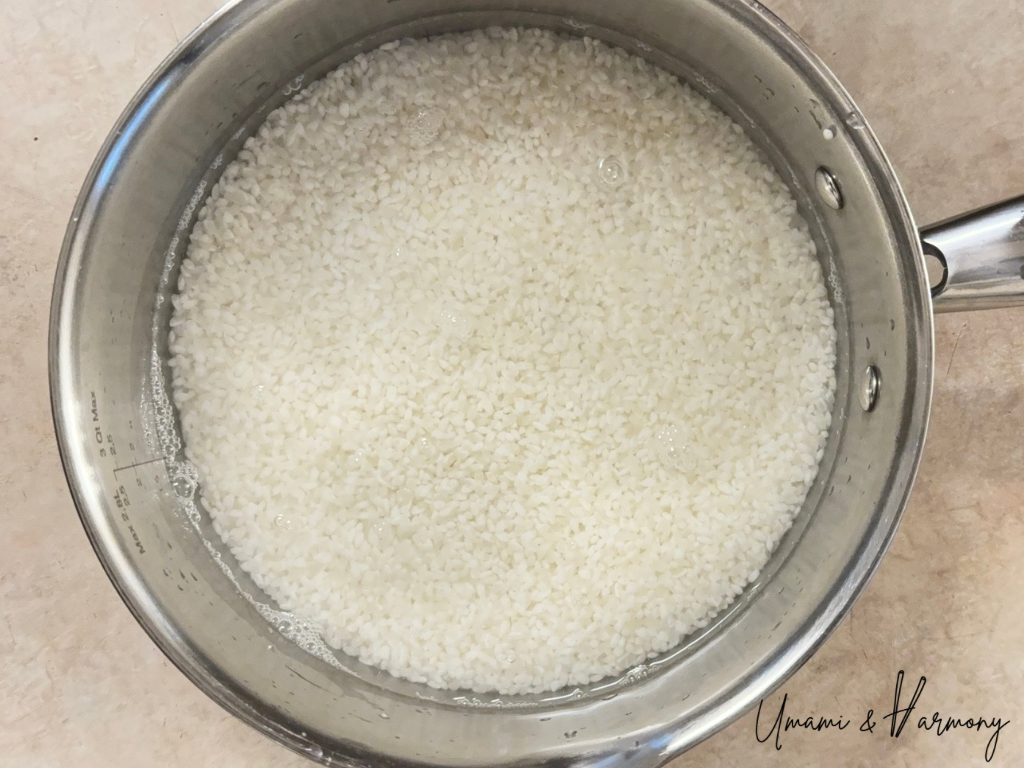
Step 5: Cook the rice
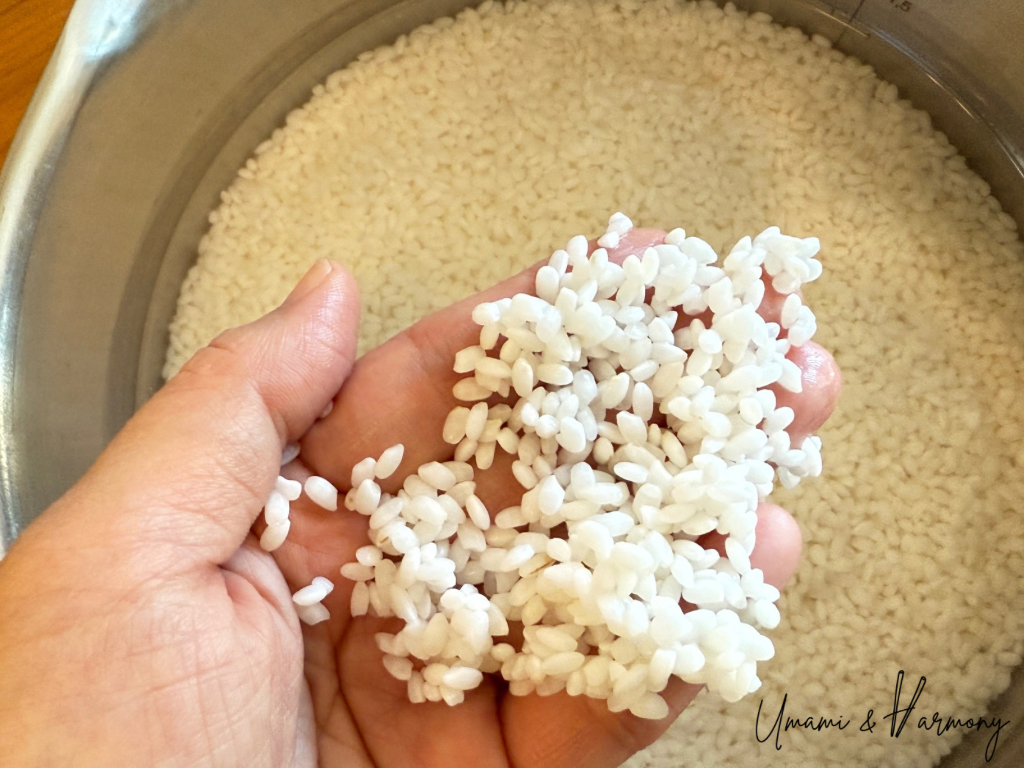
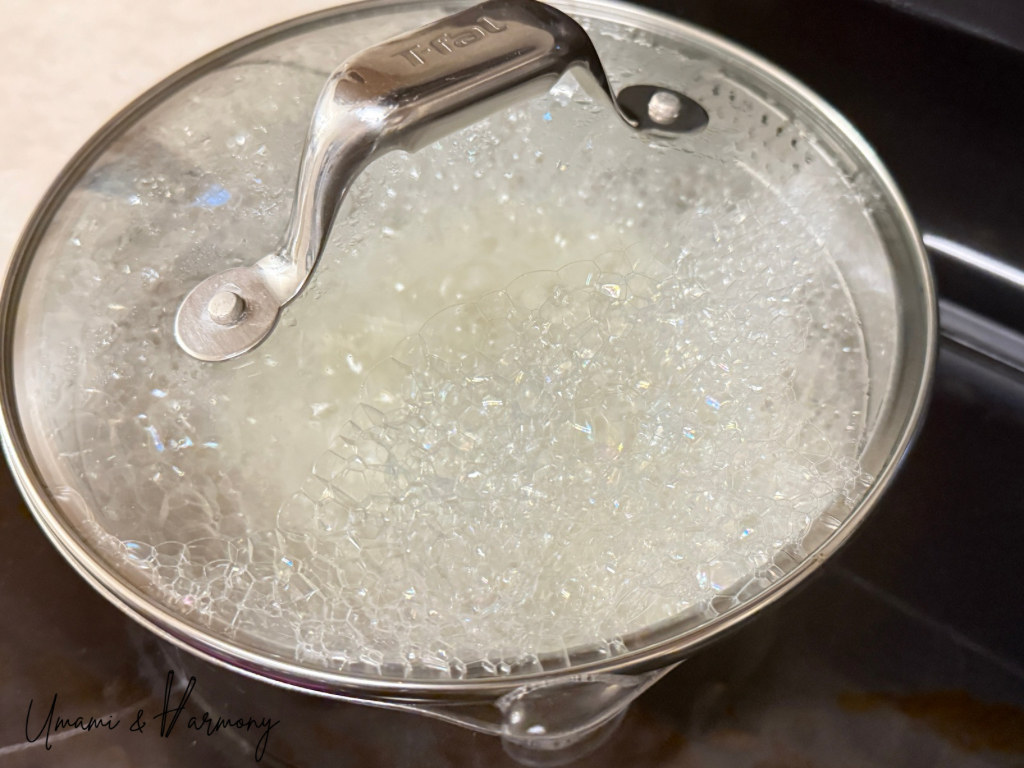
Before cooking, check the rice! When it has absorbed enough water, the grains will look white and opaque. If the rice still looks slightly transparent, it needs more soaking time. Once ready, Cover the pot with a lid and place it over medium-high heat (about 7 out of 10). Once it comes to a boil, let it continue boiling for about 2 minutes.
Step 6: Lower the heat
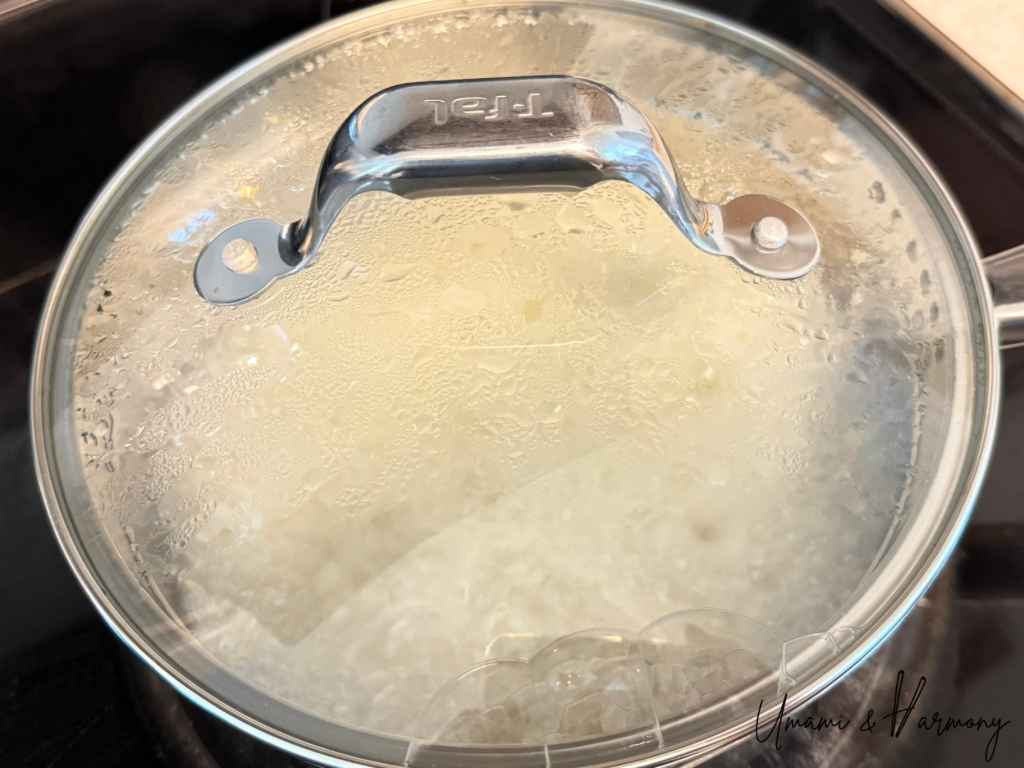
Reduce the heat to medium-low (about 4 out of 10) and cook for another 8 to 10 minutes. Check carefully: if there’s still water left, lower the heat slightly (about 3 out of 10) and cook for an additional 2–3 minutes.
Step 7. Steam and serve.
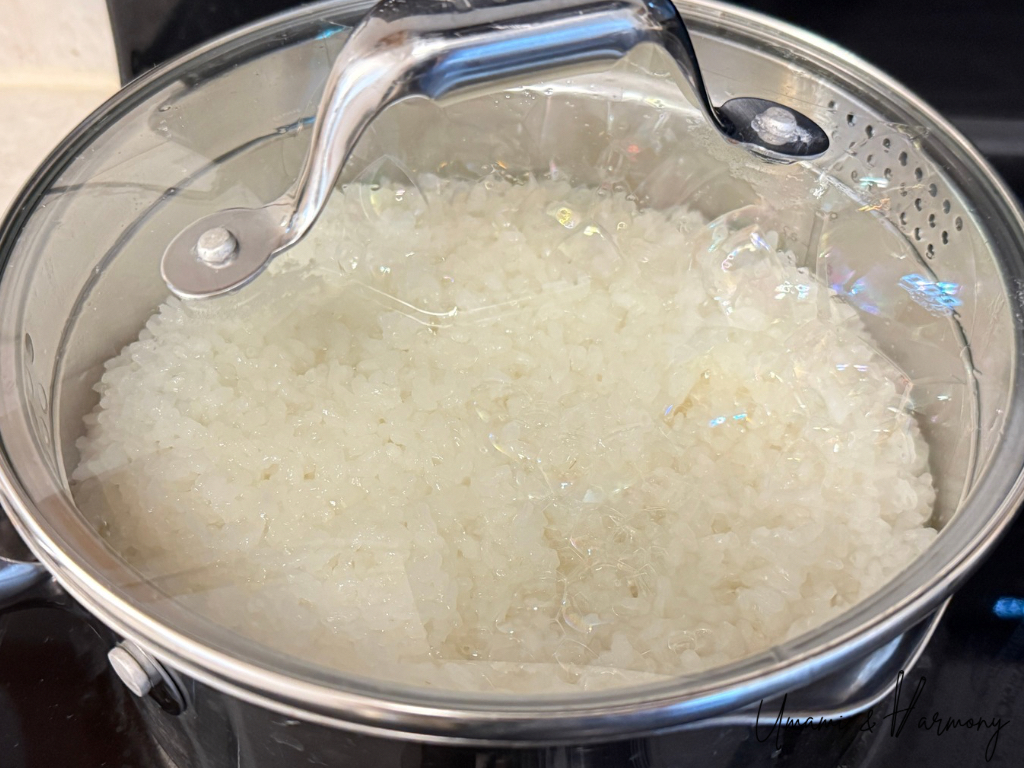
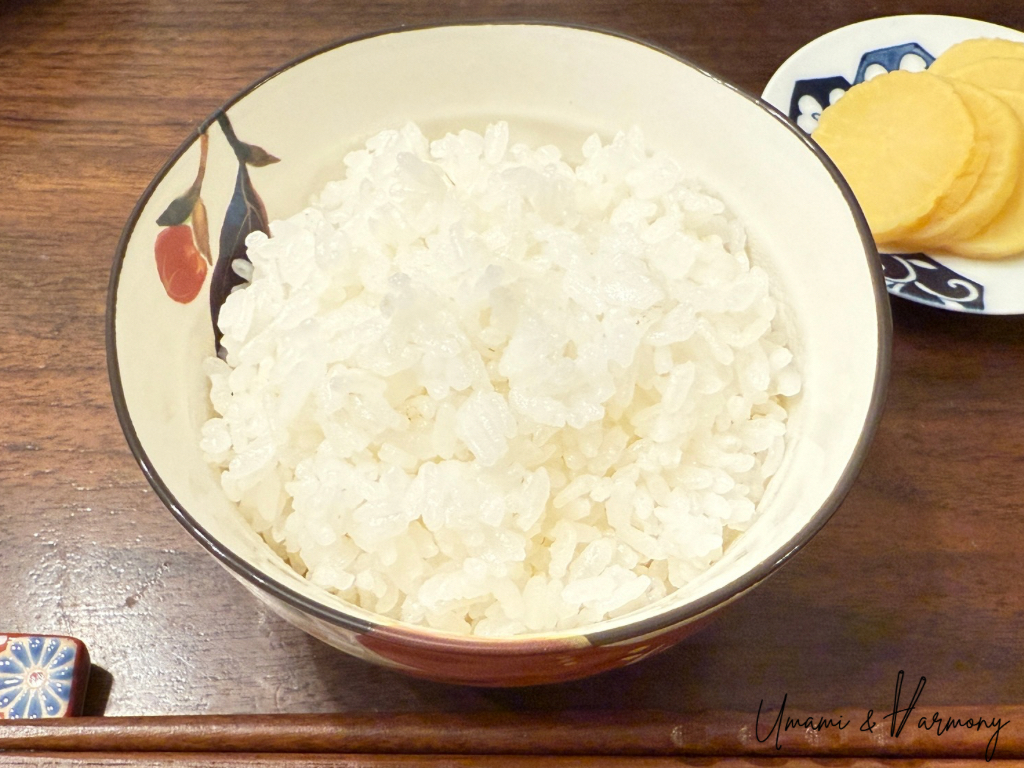
Once all the water is absorbed, turn off the heat but keep the lid on. Let the rice steam in the pot for 10–15 minutes, then gently fluff the rice and serve.
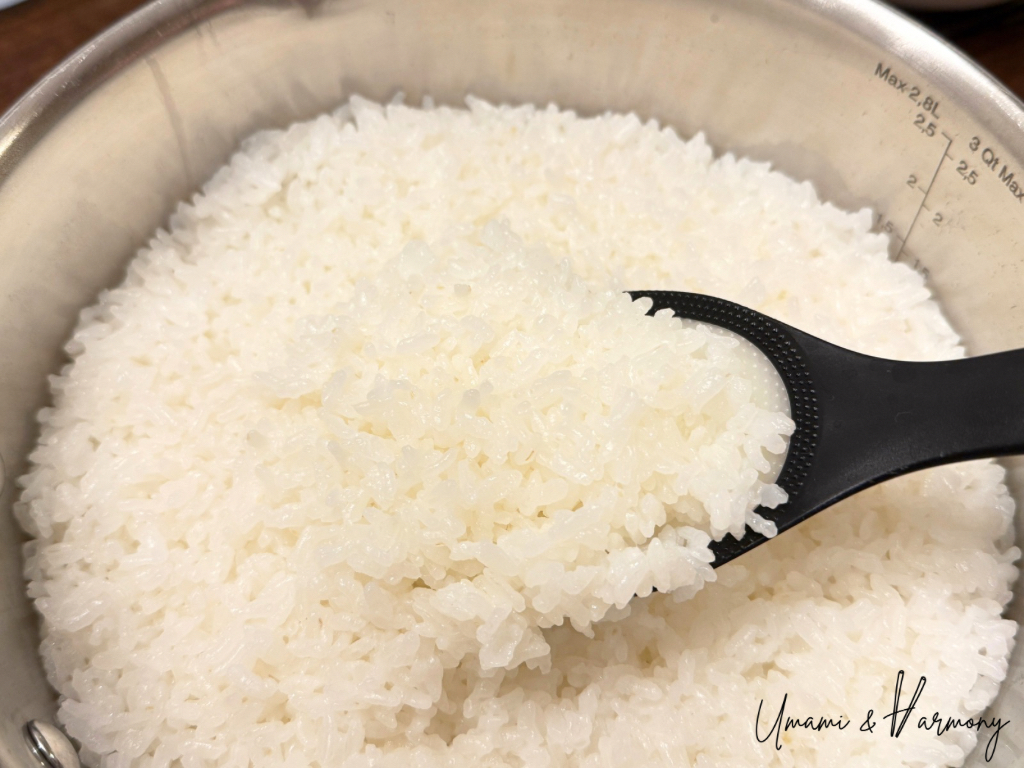
How to Cook Sushi Rice in a Regular Pot (No Rice Cooker Needed!)
Ingredients
- 3 rice measuring cups Japanese short grain rice Sushi Rice
- 700 ml Water = 2.95 US cups
Instructions
- Measure the rice accurately. Fill the measuring cup to the top, then level it off with a chopstick. This step is important because even small differences in rice or water can affect the taste and texture.
- Place the rice in a large bowl and add cold water. Quickly swirl with your hand, then drain the water right away so the rice doesn’t absorb the cloudy, bran-flavored water. Repeat 2–3 times.
- With your hand shaped like a bear claw (fingers slightly spread), gently stir the rice in one direction about 15–20 times. Do not scrub too hard or too fast. Add water, swirl, and drain again. Repeat this process 2–3 times until the water is almost clear.
- Drain the rice in a strainer, then transfer it to a pot. Add the measured amount of water (the same rice-to-water ratio you measured earlier). Let the rice soakabout 30 minutes in summer or 1 hour in winter. This step helps the rice cook evenly.
- Before cooking, check the rice! When it has absorbed enough water, the grains will look white and opaque. If the rice still looks slightly transparent, it needs more soaking time. Once ready, Cover the pot with a lid and place it over medium-high heat (about 7 out of 10). Once it comes to a boil, let it continue boiling for about 2 minutes.
- Reduce the heat to medium-low (about 4 out of 10) and cook for another 8 to 10 minutes. Check carefully: if there’s still water left, lower the heat slightly (about 3 out of 10) and cook for an additional 2–3 minutes.
- Once all the water is absorbed, turn off the heat but keep the lid on. Let the rice steam in the pot for 10–15 minutes, then gently fluff the rice and serve.
Related
Looking for other recipes like this? Try these:


Comments
No Comments