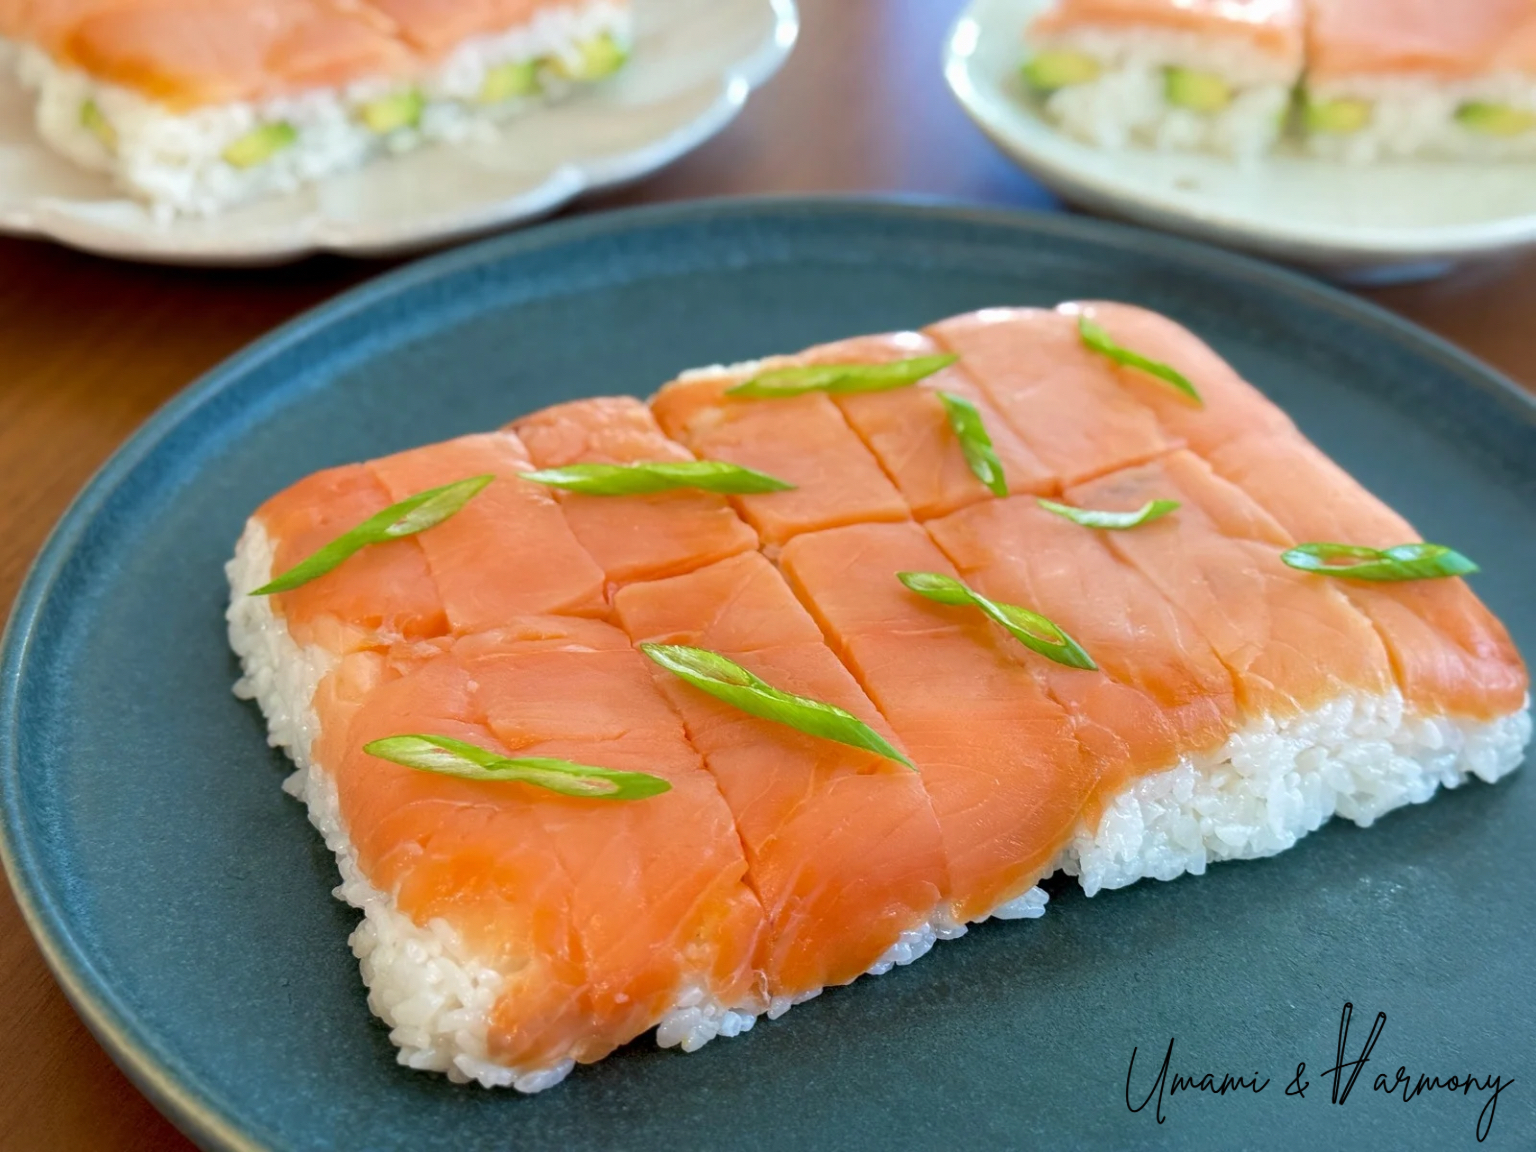
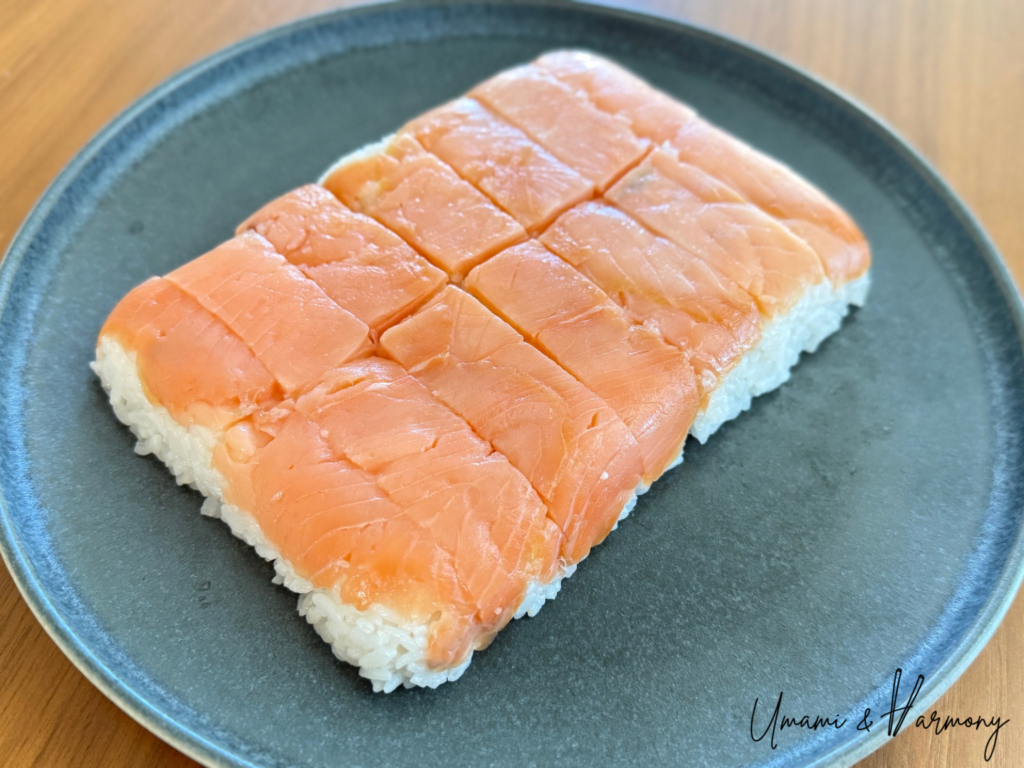
Making sushi at home might sound like a hassle, but this Pressed Smoked Salmon Sushi is surprisingly easy to make with ingredients you can find at any grocery store. Inspired by the traditional oshizushi style from western Japan, this version uses smoked salmon for a delicious twist that feels refined yet simple. It’s a great choice for family dinners, parties, or when you want to treat yourself to something homemade and beautiful.
Ingredients
Serving Size: Two 7.5 x 5.5 x 1.75-inch containers
For Sushi Rice
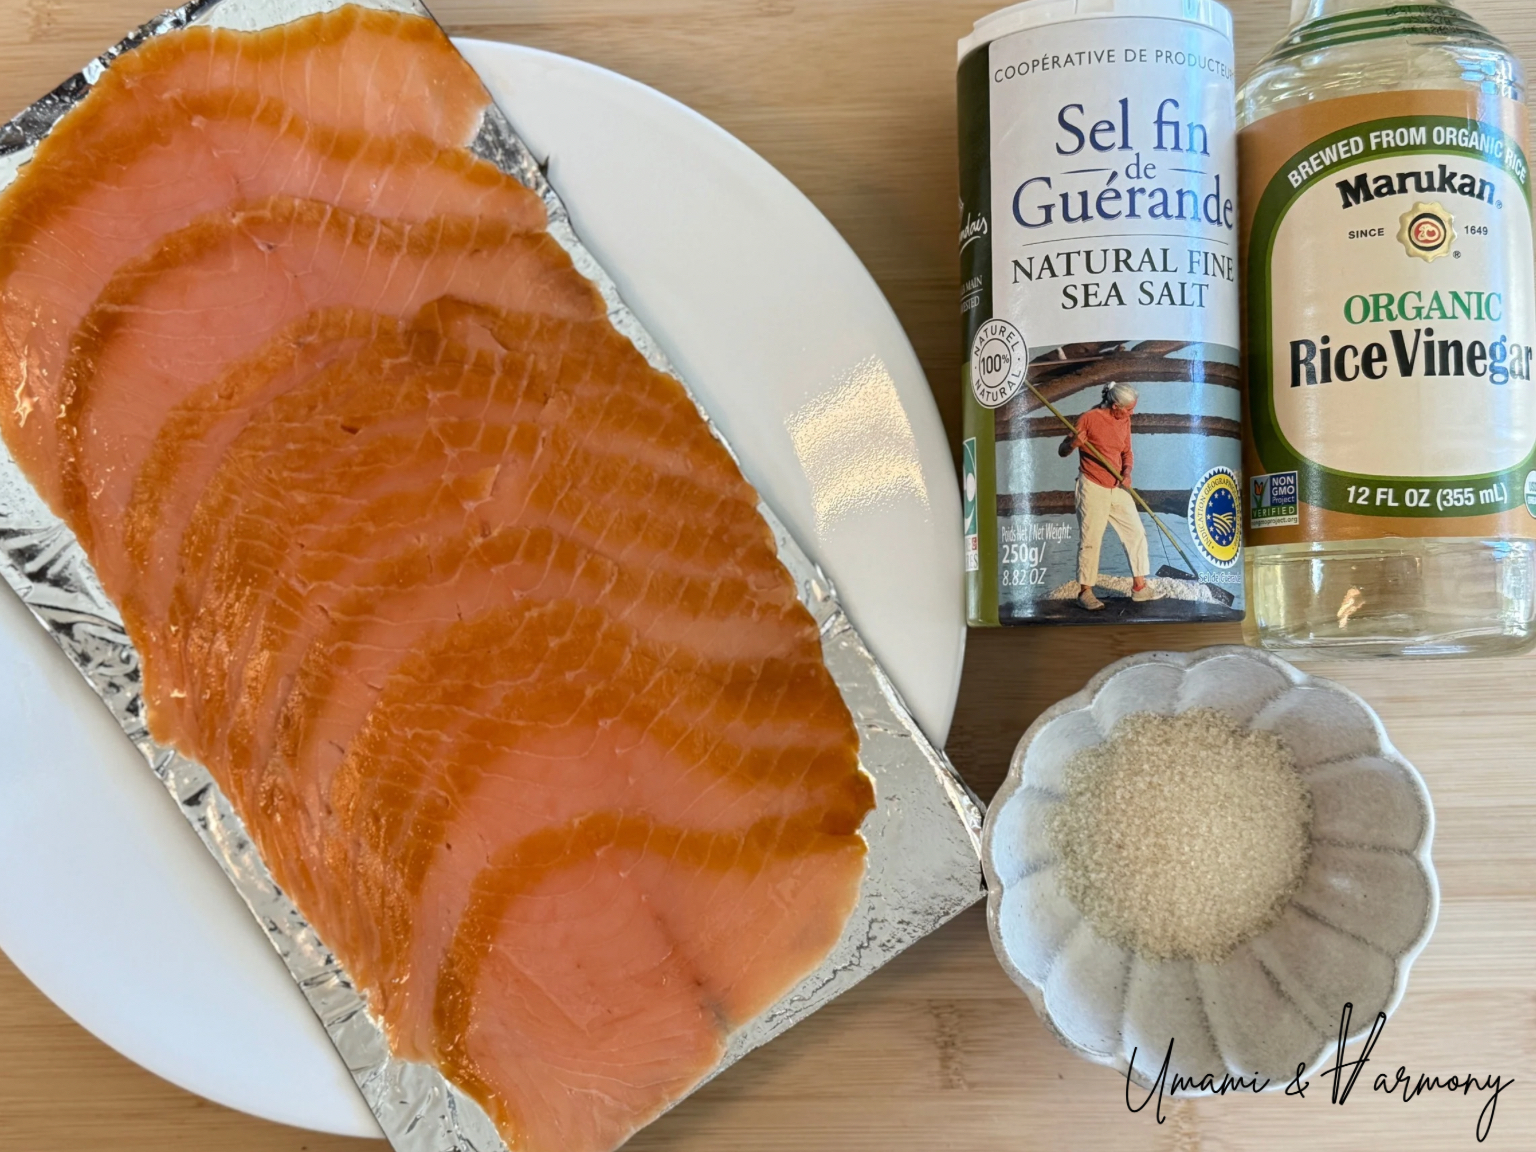
- Cooked sushi rice: 660g (about 2 rice measuring cups)
- Rice vinegar: 4 Tbsp
- Sugar: 2 Tbsp
- Salt : 1 ½ tsp
For Topping
- Smoked salmon : 12 oz
- Avocado : ½ (sliced)
For Garnish
- Soy sauce – for serving
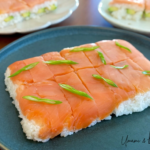
- Green onion – chopped or thinly sliced
Step-By-Step Instructions
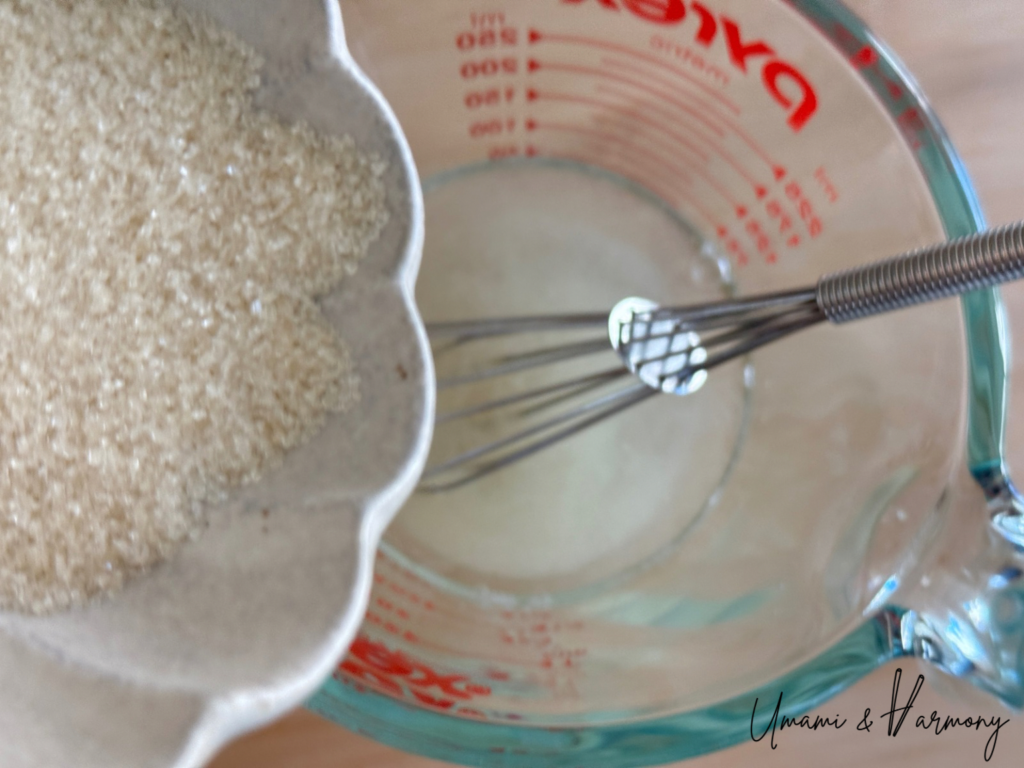
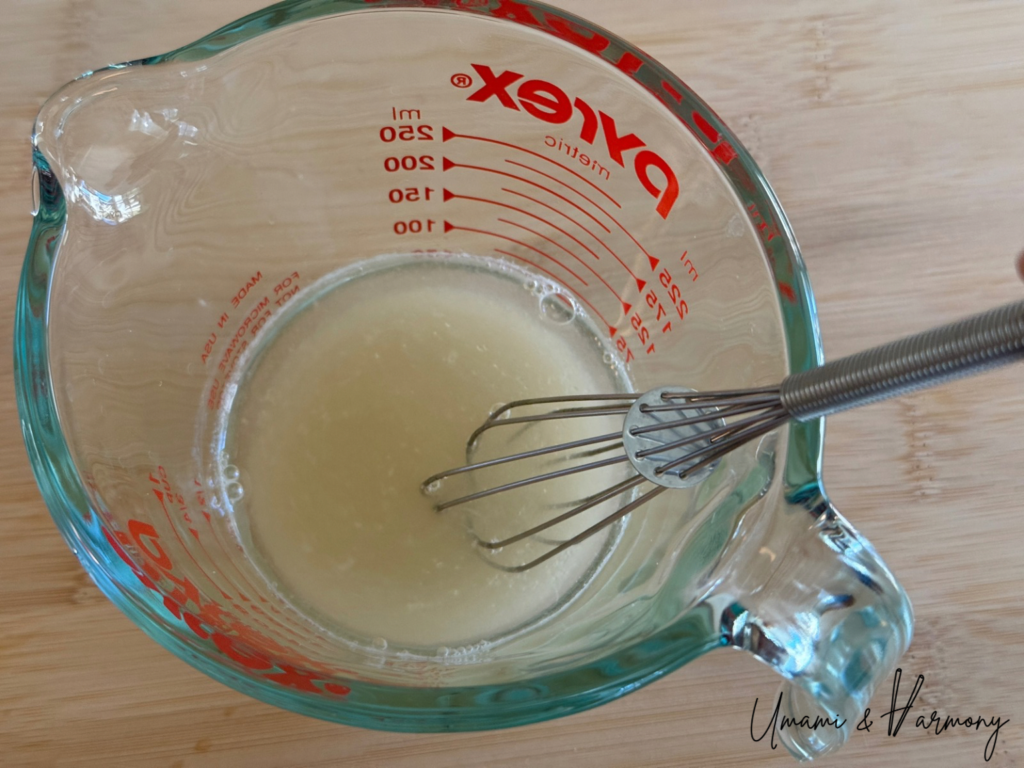
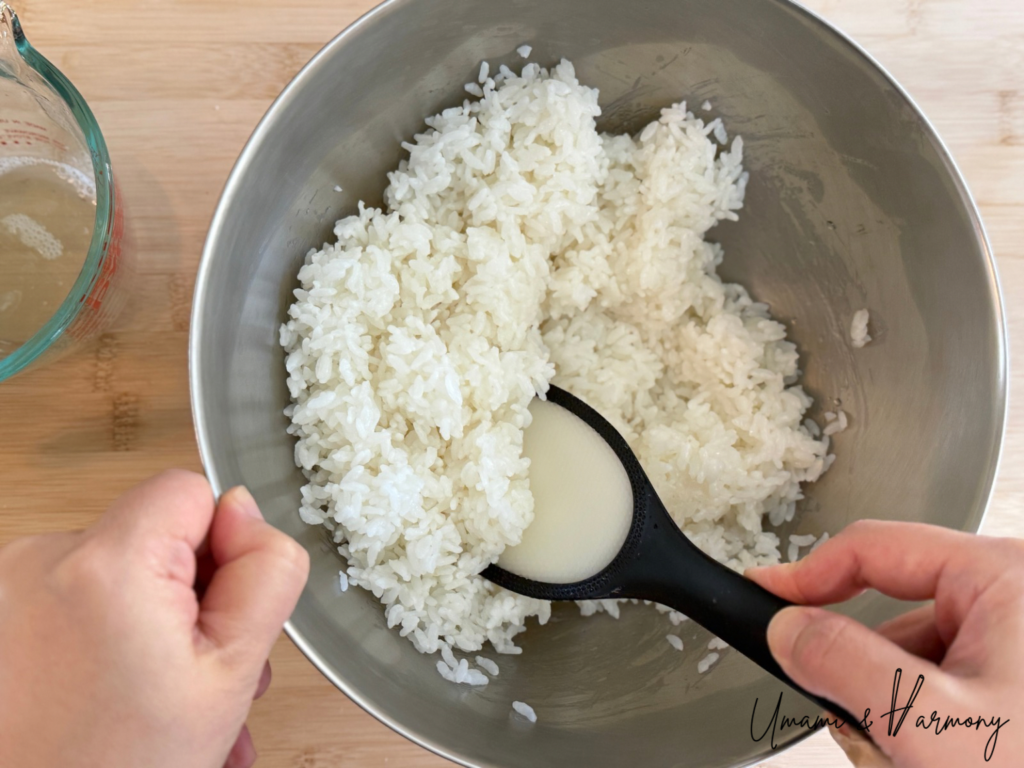
1. Prepare the sushi vinegar
In a small bowl, combine vinegar, sugar, and salt. Microwave for about 10–15 seconds to help dissolve the sugar and salt completely. Mix well and set aside.
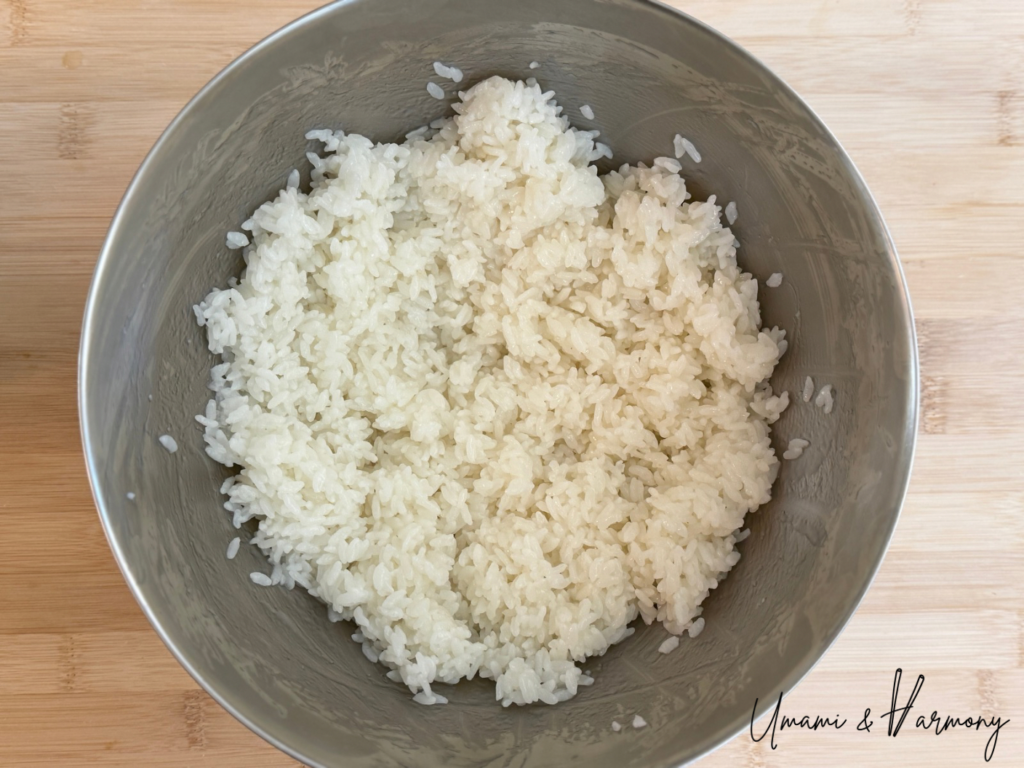
2. Season the rice
In a large bowl, add freshly cooked rice. Gradually pour the vinegar mixture over the rice in 2–3 additions, using a rice paddle (shamoji) to gently slice and fold the rice.
Be careful not to mash or press the grains. Once evenly mixed, let the rice cool until it reaches about body temperature (lukewarm).
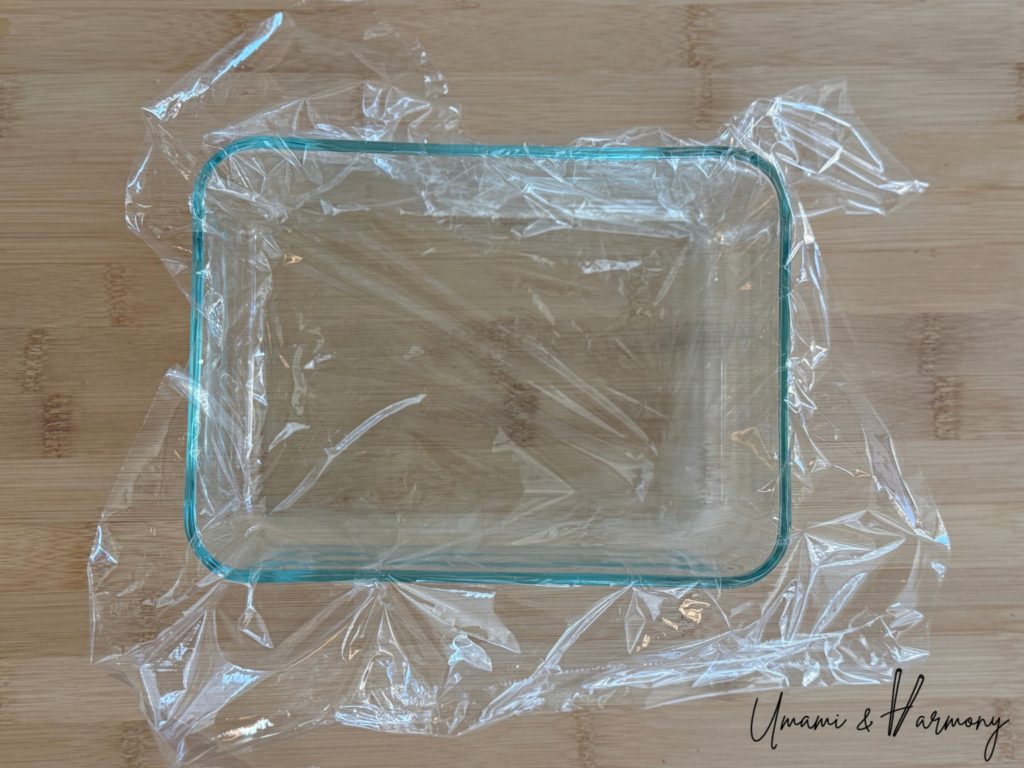
3. Prepare the container
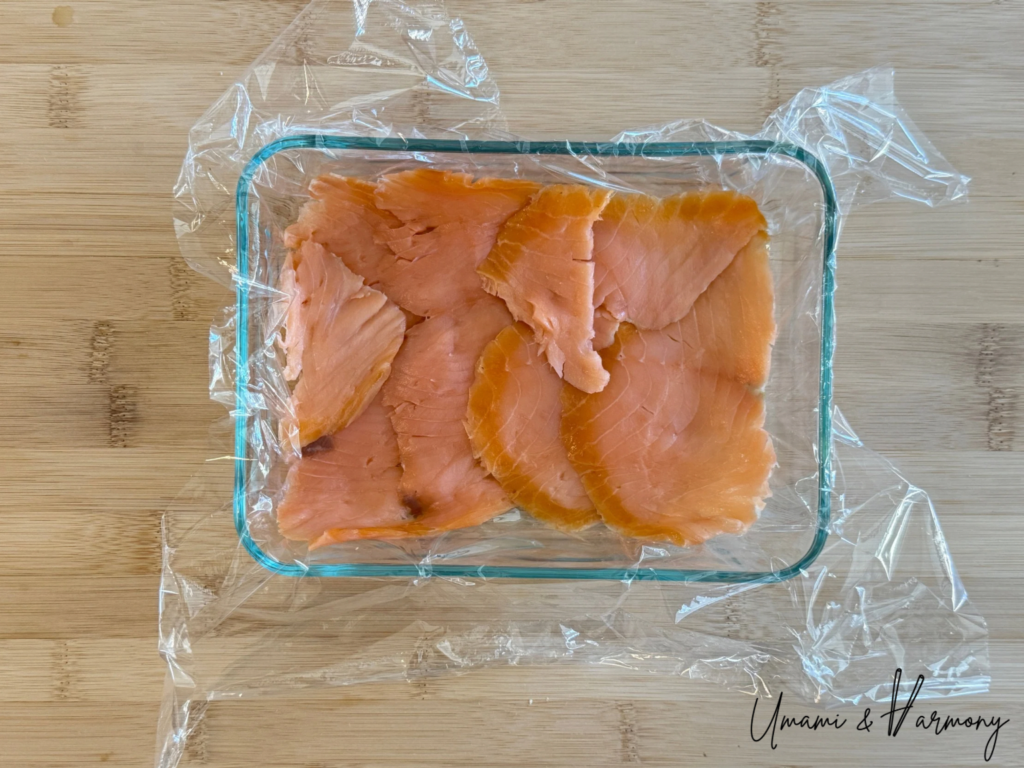
Line your sushi mold or container (7.5 x 5.5 x 1.75 inch) with a large sheet of plastic wrap, making sure it fully covers the bottom and sides.
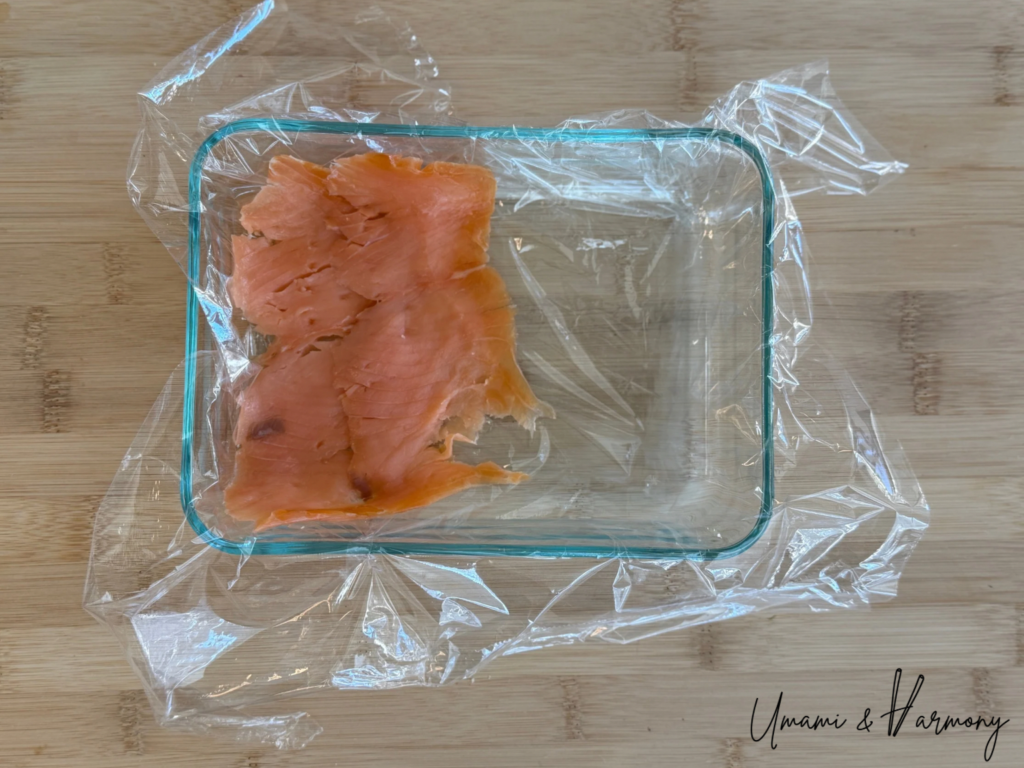
4. Assemble the salmon layer
Arrange smoked salmon slices evenly over the plastic wrap, slightly overlapping them so there are no gaps.
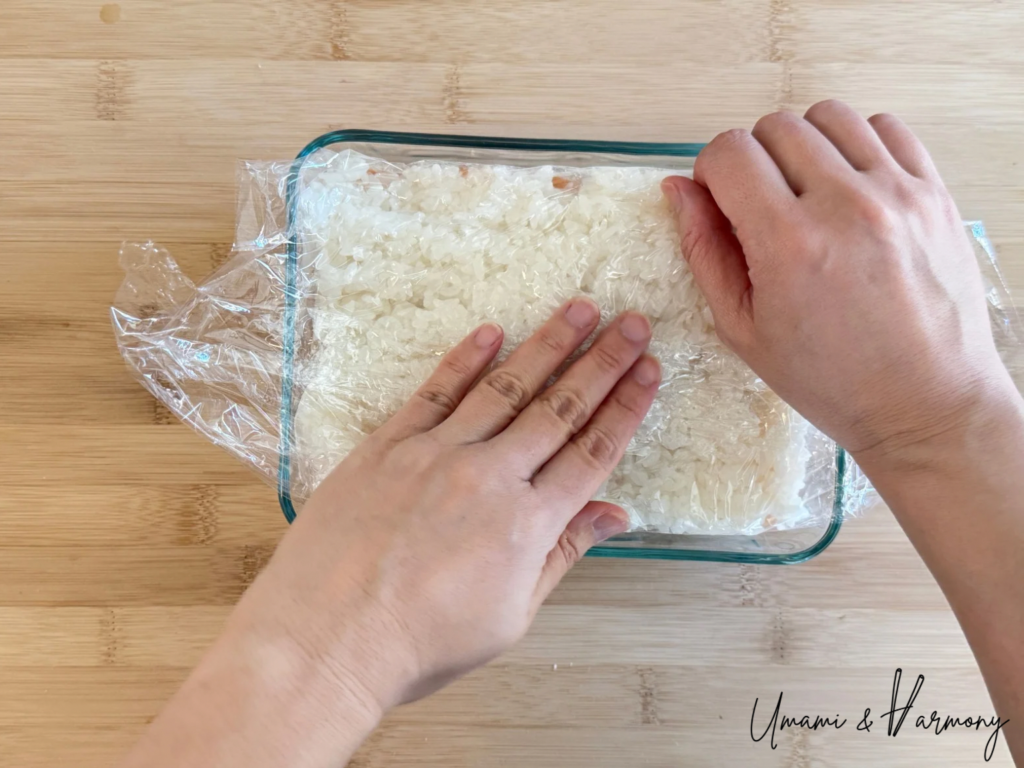
5. Add the sushi rice
- 5-1. Smoked Salmon Only Version: Spread about 2 cups of seasoned rice over the salmon. Use the back of a spoon or rice paddle to spread it evenly. Fold the plastic wrap over and press gently to shape. Do not smash the rice!

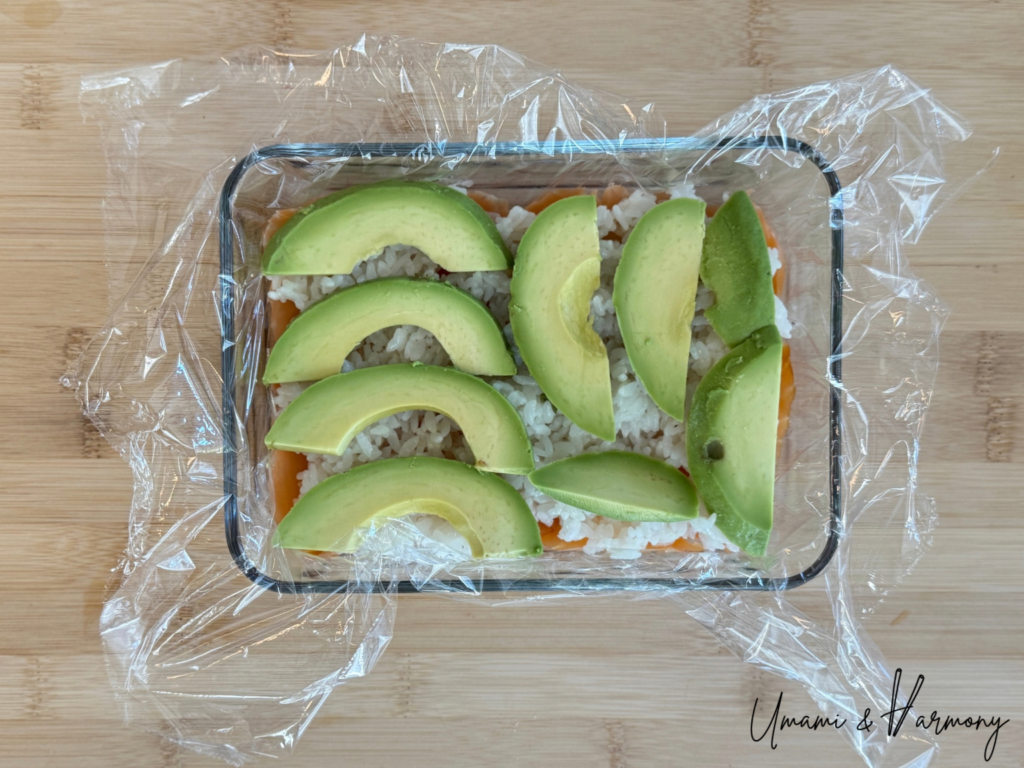
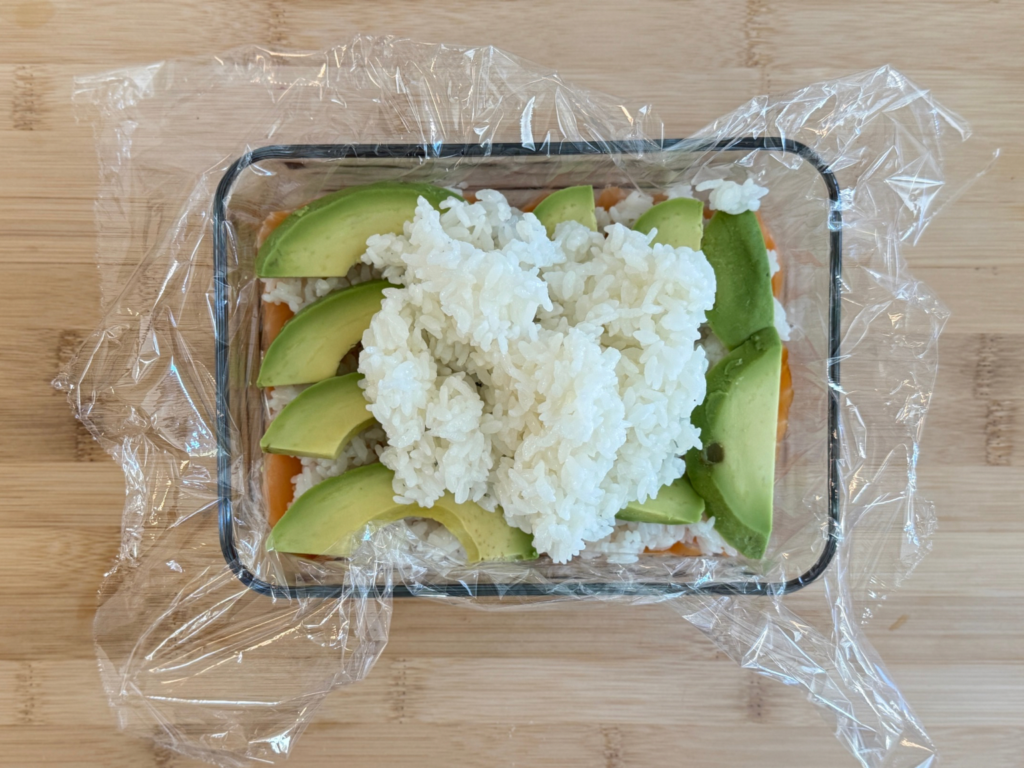
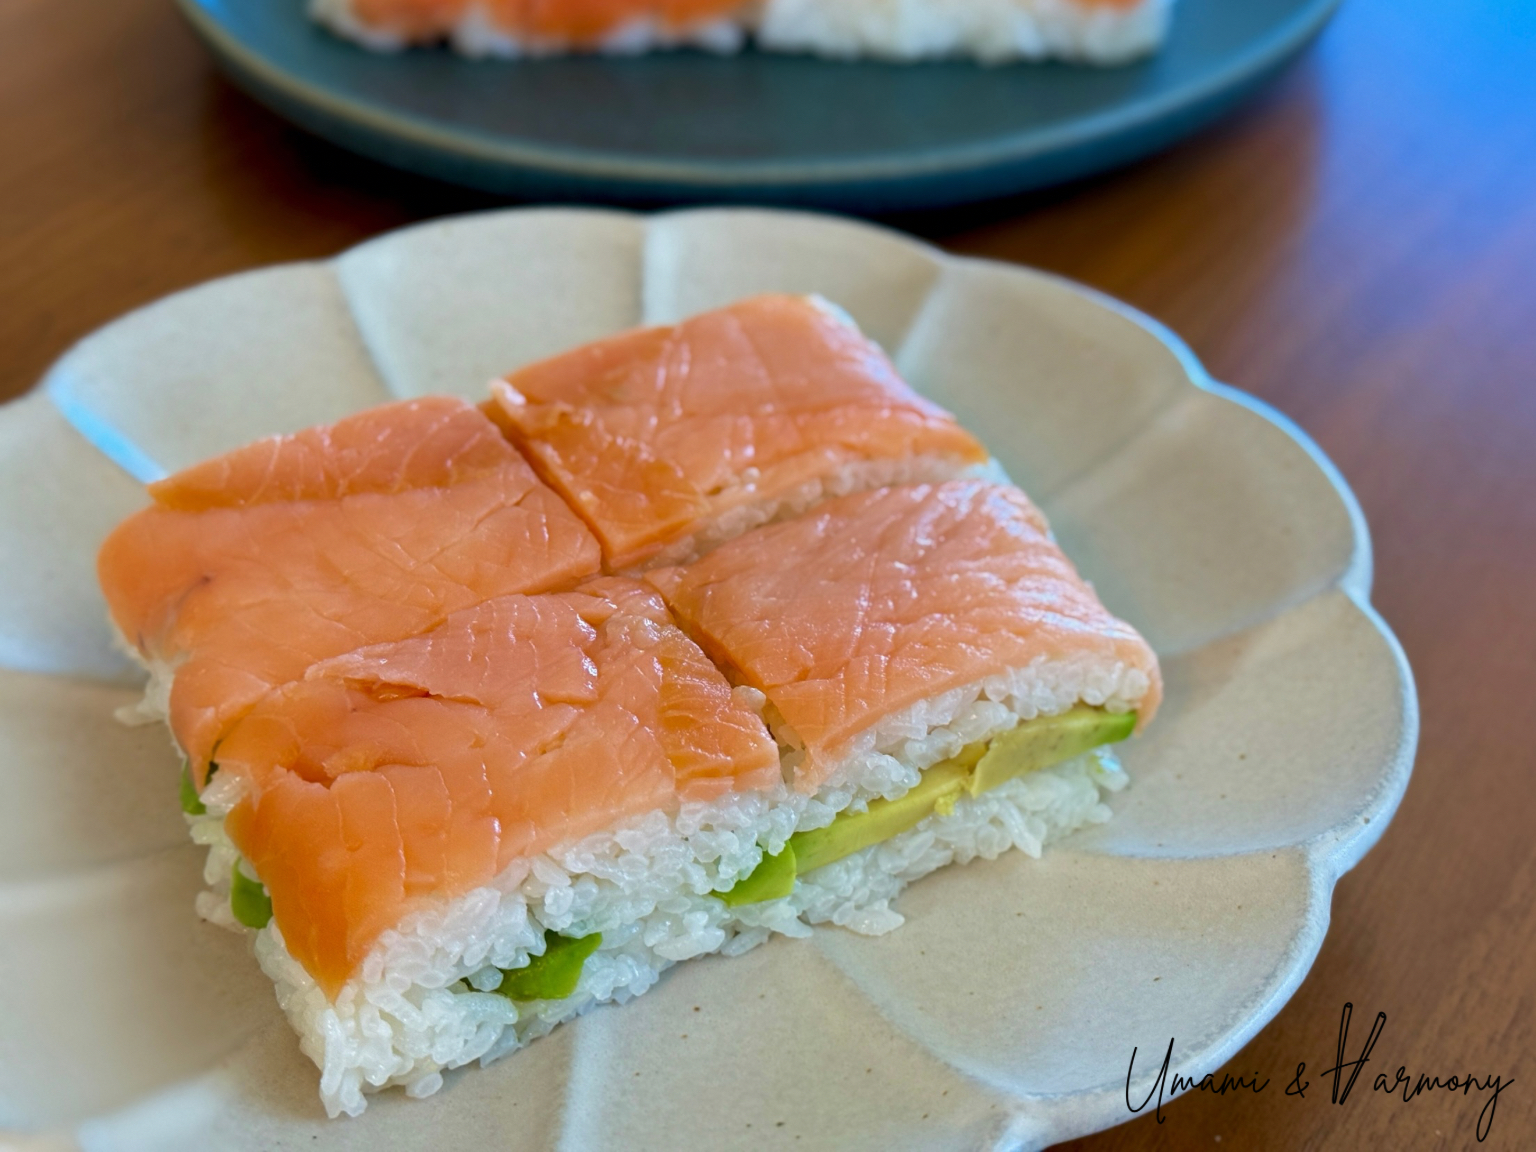
- 5-2. Smoked Salmon & Avocado Version
After layering the smoked salmon, add 1 cup of sushi rice on top and spread it evenly. Then place the sliced avocado evenly over the rice, then add another 1 cup of sushi rice and spread again. Fold the plastic wrap over and press gently to shape—be careful not to smash the rice.
6. Chill and serve:
Let it rest for 10–15 minutes to set. Then unwrap, slice into portions, and garnish with green onion if you like. Serve with soy sauce on the side.

Recipe Tips
- Don’t over-press: When shaping the sushi, press gently and evenly—too much pressure can make the rice dense or gummy.
- Cool before slicing: Let the sushi rest for about 10–15 minutes before cutting. This helps it set and makes cleaner slices.
- Sharp knife is key: Use a very sharp knife and wipe or wet the blade between each cut for smooth, clean pieces. A lightly wet knife glides better through the rice and salmon without sticking.
Pressed Smoked Salmon Sushi
Ingredients
For Sushi Rice
- 4 cups Cooked sushi rice / 660g/ 23 oz
- 4 Tbsp Rice vinegar
- 2 tablespoon Sugar
- 1 ½ tsp Sea salt
For Topping
- 12 oz Smoked salmon
- ½ Avocado / sliced
For Garnish
- Soy sauce for serving
- Green onion / chopped or sliced
Instructions
- Prepare the sushi vinegarIn a small bowl, combine vinegar, sugar, and salt. Microwave for about 10–15 seconds to help dissolve the sugar and salt completely. Mix well and set aside.
- Season the riceIn a large bowl, add freshly cooked rice. Gradually pour the vinegar mixture over the rice in 2–3 additions, using a rice paddle (shamoji) to gently slice and fold the rice.Be careful not to mash or press the grains. Once evenly mixed, let the rice cool until it reaches about body temperature (lukewarm).
- Prepare the containerLine your sushi mold or container (7.5 x 5.5 x 1.75 inch) with a large sheet of plastic wrap, making sure it fully covers the bottom and sides.
- Assemble the salmon layerArrange smoked salmon slices evenly over the plastic wrap, slightly overlapping them so there are no gaps.
- Add the sushi rice5-1. Smoked Salmon Only Version: Spread about 2 cups of seasoned rice over the salmon. Use the back of a spoon or rice paddle to spread it evenly. Do not smash the rice!5-2. Smoked Salmon & Avocado VersionAfter layering the smoked salmon, add 1 cup of sushi rice on top and spread it evenly. Place the sliced avocado evenly over the rice, then add another 1 cup of sushi rice and spread again. Fold the plastic wrap over and press gently to shape—be careful not to smash the rice.
- Chill and serve:Let it rest for 10–15 minutes to set. Unwrap, slice into portions, and garnish with green onion if you like. Serve with soy sauce on the side.
Related
Looking for other recipes like this? Try these:

Comments
No Comments